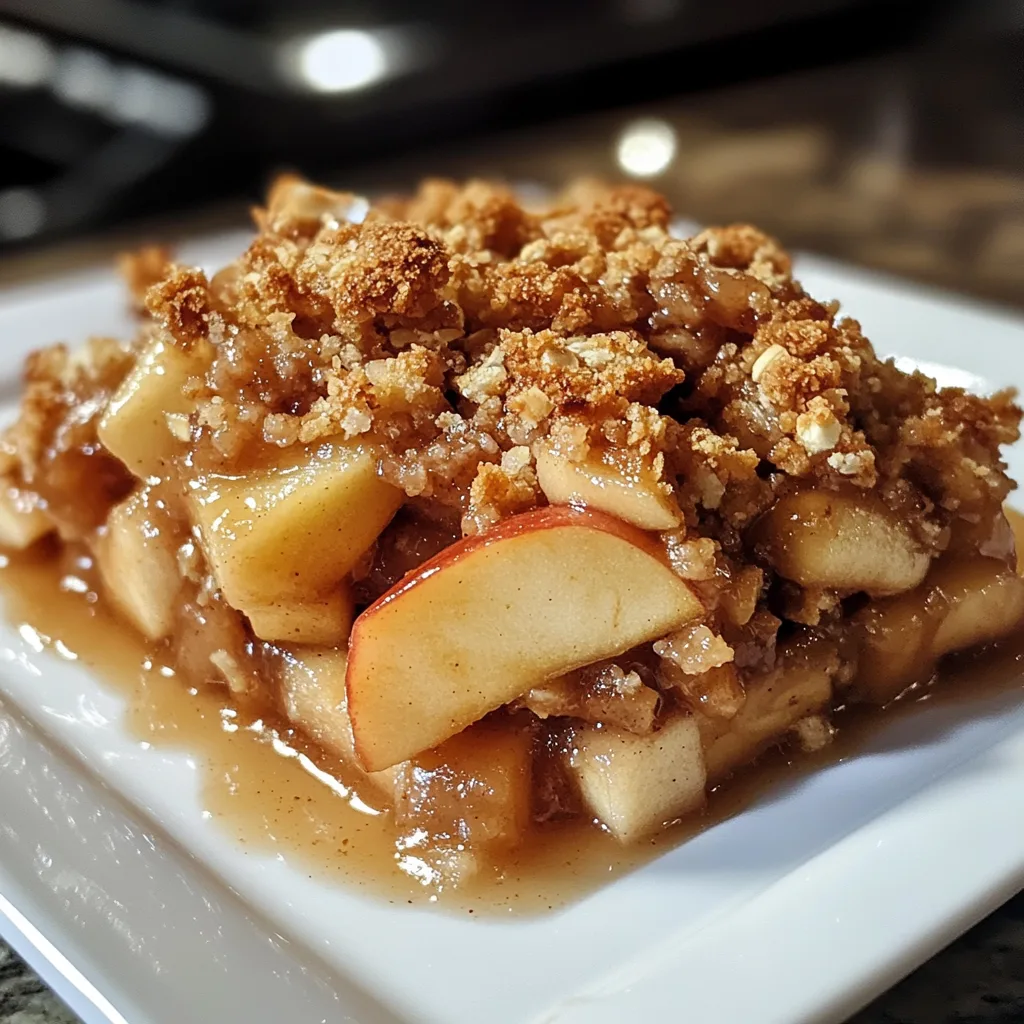
Introduction to Apple Crisp
There’s something magical about the aroma of baked apples wafting through the house, isn’t there? Apple crisp is one of those comforting desserts that feels like a warm hug on a chilly evening. As a busy mom, I know how precious time is, and this recipe is a quick solution for those hectic days when you want to impress your loved ones without spending hours in the kitchen. With just a handful of ingredients, you can create a delightful dish that brings smiles and satisfaction to the whole family. Trust me, this apple crisp will become a cherished favorite!
Why You’ll Love This Apple Crisp
This apple crisp is not just a dessert; it’s a celebration of simplicity and flavor. It comes together in under an hour, making it perfect for busy evenings. The combination of sweet, tender apples and a crunchy topping creates a delightful contrast that will have everyone asking for seconds. Plus, it’s versatile! You can easily customize it with your favorite fruits or spices, ensuring it’s always a hit at your table.
Ingredients for Apple Crisp
Gathering the right ingredients is the first step to creating a delicious apple crisp. Here’s what you’ll need:
- Sliced Apples: The star of the show! Choose a mix of sweet and tart apples for depth of flavor. Granny Smith and Honeycrisp are my favorites.
- Granulated Sugar: This sweetener enhances the natural sweetness of the apples, making them irresistible.
- Cinnamon: A warm spice that adds a cozy aroma and flavor. It’s like a hug in spice form!
- Rolled Oats: These provide a hearty texture to the topping, giving it that delightful crunch.
- All-Purpose Flour: This helps bind the topping together, creating a perfect crispy layer.
- Brown Sugar: Adds a rich, caramel-like sweetness that complements the apples beautifully.
- Unsalted Butter: Melted butter brings everything together, adding richness and flavor to the topping.
Feel free to get creative! You can mix in other fruits like pears or berries for a twist. If you’re looking for a healthier option, consider using coconut oil instead of butter or reducing the sugar slightly. For exact measurements, check the bottom of the article where you can find everything available for printing.
How to Make Apple Crisp
Now that you have your ingredients ready, let’s dive into the steps to create this delightful apple crisp. Each step is simple, and I promise you’ll be rewarded with a delicious dessert that fills your home with warmth and joy.
Step 1: Preheat the Oven
First things first, preheat your oven to 350°F (175°C). Preheating is crucial because it ensures that your apple crisp bakes evenly. If you skip this step, the apples might turn mushy before the topping gets that lovely golden color. So, let that oven warm up while you prepare the rest!
Step 2: Prepare the Apples
Next, grab those sliced apples and toss them in a large bowl with granulated sugar and cinnamon. This step is where the magic begins! The sugar draws out the natural juices of the apples, while the cinnamon adds a cozy warmth. Mix it well, so every slice is coated in that sweet, spicy goodness.
Step 3: Assemble the Apple Mixture
Now, it’s time to spread the apple mixture evenly in a greased baking dish. Make sure to distribute the apples in a single layer for even cooking. This way, every bite will be filled with tender, flavorful apples. Trust me, your family will thank you for this little detail!
Step 4: Make the Topping
In another bowl, combine rolled oats, all-purpose flour, brown sugar, and melted butter. Mix until everything is well combined and crumbly. This topping is what gives your apple crisp that irresistible crunch. It’s like a cozy blanket for the apples, adding texture and flavor that you won’t want to miss!
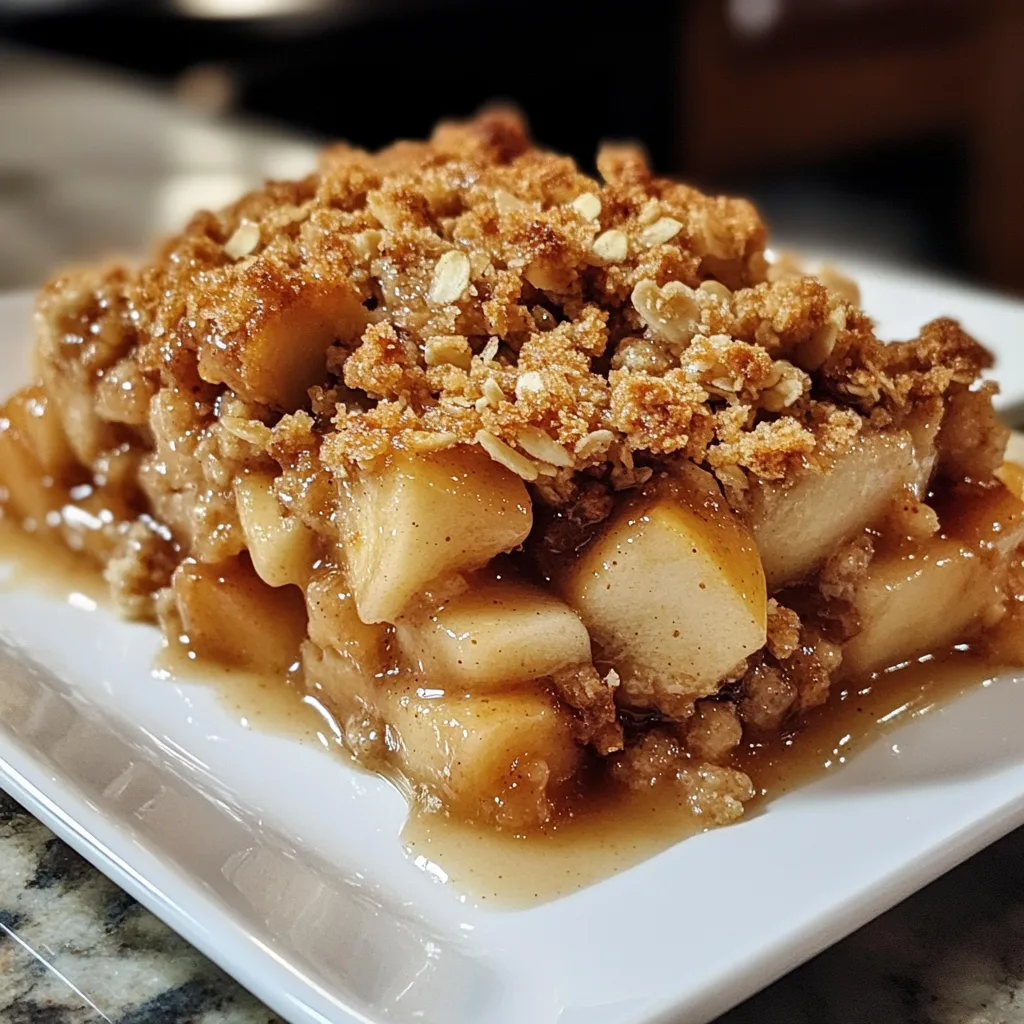
Step 5: Combine and Bake
Sprinkle the oat mixture generously over the apples. Make sure to cover them well; this is where the magic happens! Bake your apple crisp in the preheated oven for 30-35 minutes. You’ll know it’s ready when the topping is golden brown and the apples are bubbling. The aroma will be heavenly!
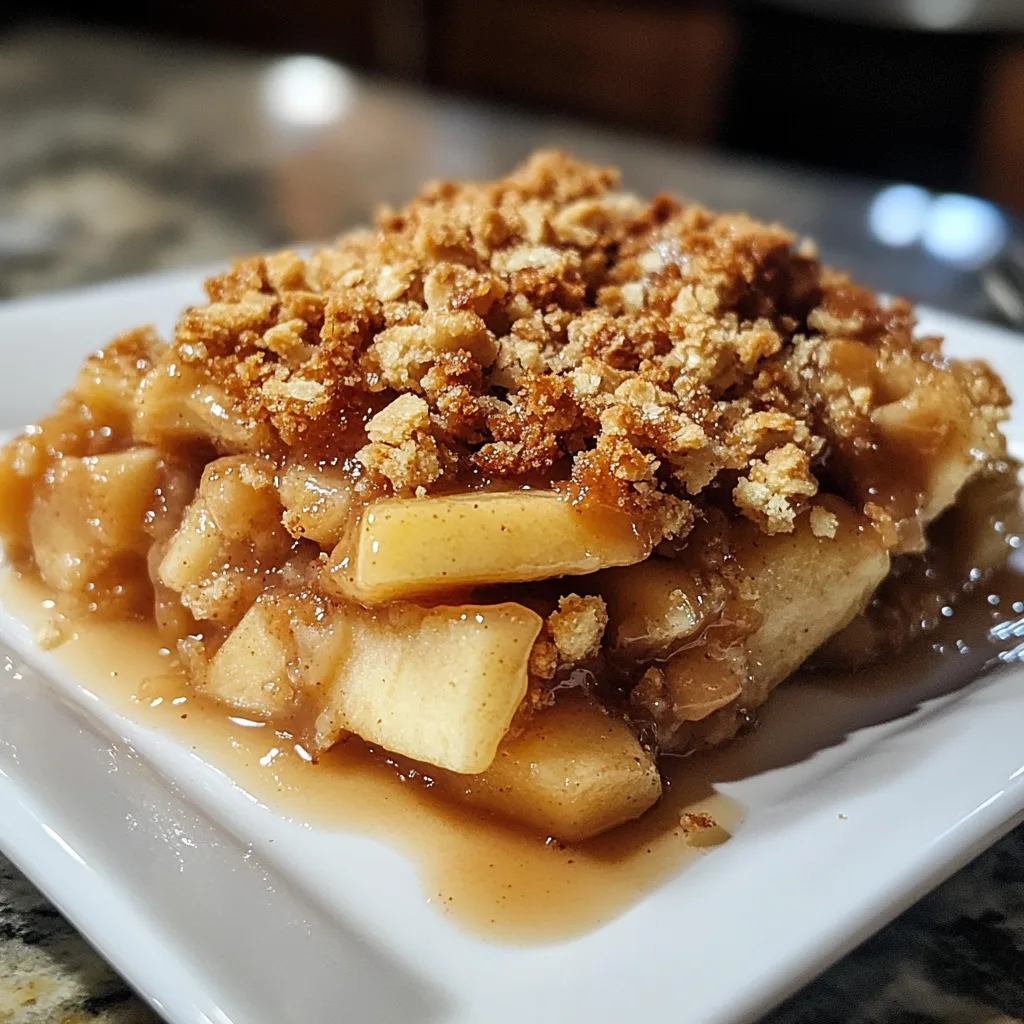
Step 6: Cool and Serve
Once it’s out of the oven, let your apple crisp cool slightly before serving. This step is important because it allows the juices to settle, giving you the best texture. Serve it warm, and if you’re feeling indulgent, add a scoop of vanilla ice cream on top. It’s the perfect finishing touch!
Tips for Success
- Use a mix of sweet and tart apples for a balanced flavor.
- Don’t skip the cinnamon; it elevates the taste significantly.
- For extra crunch, add chopped nuts to the topping.
- Let the apple crisp cool for about 10 minutes before serving.
- Experiment with spices like nutmeg or ginger for a unique twist.
Equipment Needed
- Baking Dish: A 9×13 inch dish works perfectly. If you don’t have one, any oven-safe dish will do.
- Mixing Bowls: Use two medium-sized bowls for mixing the apples and the topping. A large bowl can work too!
- Measuring Cups: Essential for accurate ingredient amounts. If you’re in a pinch, use a standard coffee mug.
- Spatula: Great for spreading the apple mixture and topping evenly. A wooden spoon can also do the trick!
Variations
- Berry Bliss: Add a cup of fresh or frozen berries like blueberries or raspberries for a burst of color and flavor.
- Pear Perfection: Substitute half of the apples with ripe pears for a delightful twist on the classic recipe.
- Gluten-Free Option: Use gluten-free oats and a gluten-free flour blend to make this dessert suitable for those with dietary restrictions.
- Nutty Crunch: Mix in chopped walnuts or pecans into the topping for added texture and a nutty flavor.
- Spiced Up: Experiment with spices like nutmeg, allspice, or even a dash of ginger for a warm, spiced flavor profile.
Serving Suggestions
- Serve warm with a generous scoop of vanilla ice cream for a classic pairing.
- Drizzle caramel sauce over the top for an extra touch of sweetness.
- Pair with a cup of hot cider or coffee for a cozy dessert experience.
- Garnish with fresh mint leaves for a pop of color and freshness.
- For a festive touch, sprinkle with chopped nuts before serving.
FAQs about Apple Crisp
As I’ve shared my love for apple crisp, I often get questions from fellow home cooks. Here are some of the most common queries I hear, along with my answers to help you on your culinary journey.
Can I use frozen apples for apple crisp?
Absolutely! Frozen apples can work well, especially if you’re in a pinch. Just make sure to thaw and drain them before mixing with sugar and cinnamon. This helps prevent excess moisture in your apple crisp.
What type of apples are best for apple crisp?
I recommend using a mix of sweet and tart apples. Granny Smith and Honeycrisp are my go-to choices. They hold their shape well and provide a lovely balance of flavors in your dessert.
Can I make apple crisp ahead of time?
Yes, you can prepare the apple mixture and topping separately in advance. Just store them in the fridge. When you’re ready to bake, assemble and pop it in the oven for a fresh, warm dessert!
How do I store leftover apple crisp?
Store any leftovers in an airtight container in the refrigerator for up to three days. Reheat in the oven or microwave before serving to enjoy that warm, comforting taste again.
Can I add nuts to the topping?
Definitely! Chopped walnuts or pecans can add a delightful crunch to your apple crisp topping. Just mix them in with the oats and flour for an extra layer of flavor.
Final Thoughts
Making apple crisp is more than just baking; it’s about creating memories and sharing joy with loved ones. The warm, inviting aroma fills your home, wrapping everyone in a cozy embrace. Each bite is a delightful blend of sweet apples and crunchy topping, a perfect harmony that brings smiles to the table. Whether it’s a family gathering or a quiet evening at home, this apple crisp is sure to be a hit. So, roll up your sleeves, gather your ingredients, and let the magic of this comforting dessert brighten your day. You won’t regret it!
Print
Apple Crisp: Discover the Secret to Perfect Flavor!
- Total Time: 50 minutes
- Yield: 8 servings 1x
- Diet: Vegetarian
Description
A delicious and comforting dessert made with baked apples and a crispy topping, perfect for any occasion.
Ingredients
- 6 cups of sliced apples
- 1 cup of granulated sugar
- 1 teaspoon of cinnamon
- 1 cup of rolled oats
- 1 cup of all-purpose flour
- 1/2 cup of brown sugar
- 1/2 cup of unsalted butter, melted
Instructions
- Preheat the oven to 350°F (175°C).
- In a large bowl, mix sliced apples with granulated sugar and cinnamon.
- Spread the apple mixture evenly in a greased baking dish.
- In another bowl, combine rolled oats, flour, brown sugar, and melted butter.
- Sprinkle the oat mixture over the apples.
- Bake for 30-35 minutes or until the topping is golden brown and the apples are tender.
- Let it cool slightly before serving.
Notes
- Serve warm with vanilla ice cream for an extra treat.
- Feel free to mix in other fruits like pears or berries.
- Store leftovers in the refrigerator for up to 3 days.
- Prep Time: 15 minutes
- Cook Time: 35 minutes
- Category: Dessert
- Method: Baking
- Cuisine: American
Nutrition
- Serving Size: 1 serving
- Calories: 250
- Sugar: 20g
- Sodium: 150mg
- Fat: 10g
- Saturated Fat: 5g
- Unsaturated Fat: 3g
- Trans Fat: 0g
- Carbohydrates: 38g
- Fiber: 3g
- Protein: 2g
- Cholesterol: 15mg
Keywords: Apple Crisp, Dessert, Baked Apples, Comfort Food


