Christmas Chocolate Caramel Cups: Irresistibly Creamy Treats!
Sensory-Rich Introduction with Immediate Craving
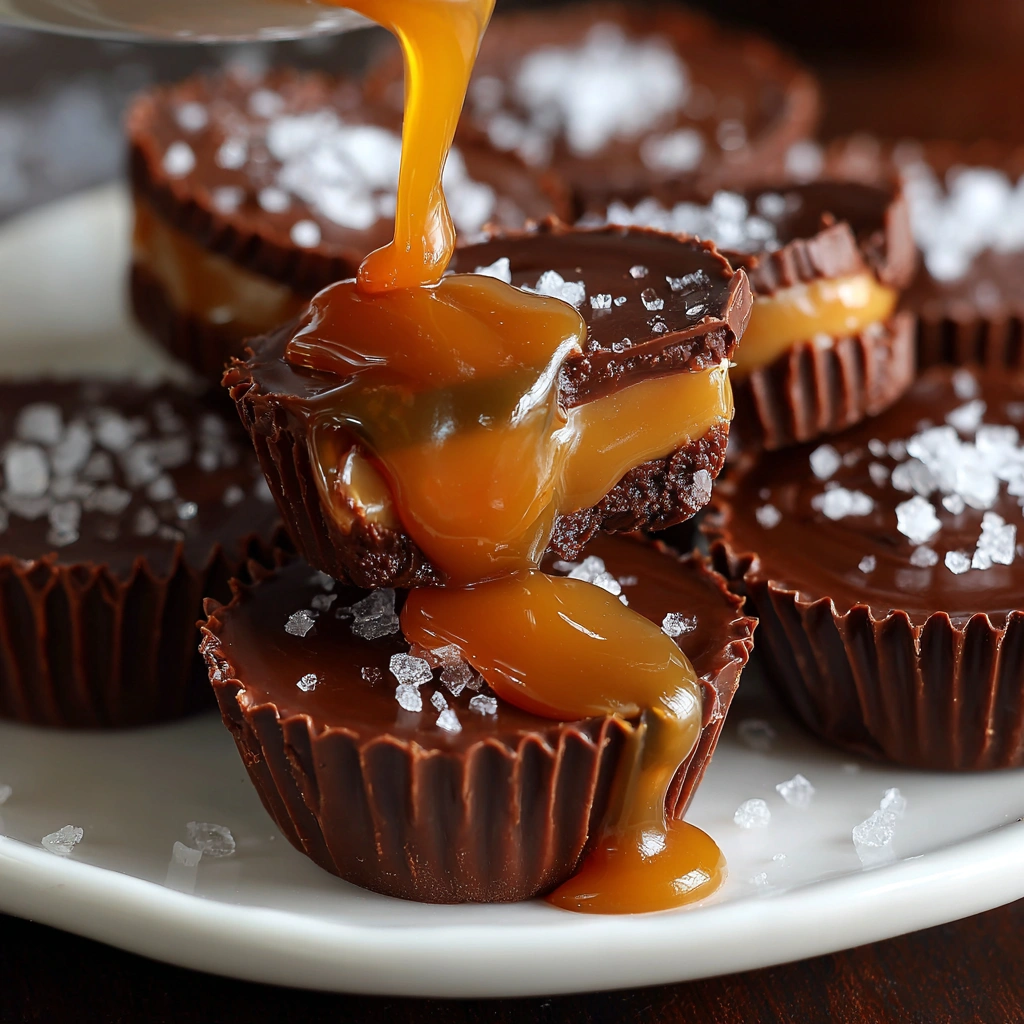
Imagine the moment you take a bite of a Christmas Chocolate Caramel Cup: the rich, velvety chocolate gives way to a gooey, sweet caramel center, creating a delightful explosion of flavors and textures. The subtle hint of flaky sea salt elevates this treat, making it a perfect indulgence for the holiday season. As a child, I remember eagerly waiting for the holidays, not just for the festivities but for the sweet treats that filled our home. These chocolate caramel cups have become a cherished tradition, perfect for sharing with family and friends during cozy gatherings or as a thoughtful homemade gift. Whether you’re hosting a holiday party or simply looking to satisfy your sweet tooth, these cups are sure to create lasting memories.
Why You’ll Love This Christmas Chocolate Caramel Cups
- Texture Contrast: The combination of smooth chocolate and chewy caramel creates a delightful mouthfeel that keeps you coming back for more.
- Flavor Balance: The sweetness of the caramel is perfectly complemented by the rich chocolate and a sprinkle of sea salt, making each bite a harmonious experience.
- Versatility: These cups can be customized with different types of chocolate or additional toppings, allowing you to tailor them to your taste.
- Ease of Preparation: With a no-bake method and simple ingredients, these treats can be whipped up quickly, making them ideal for busy holiday schedules.
- Universal Appeal: Loved by both kids and adults, these chocolate caramel cups are a crowd-pleaser that fits perfectly into any holiday celebration.
Essential Tools & Preparation Strategy
- Microwave-safe bowl: Essential for melting chocolate without burning it; ensures even melting.
- Mini muffin tin: Perfect for shaping the chocolate cups; allows for easy portion control.
- Silicone spatula: Ideal for mixing and scraping down the sides of the bowl; helps incorporate ingredients smoothly.
- Small saucepan: Necessary for melting the caramel mixture evenly; prevents scorching.
- Measuring cups and spoons: Important for accurate ingredient measurements; ensures consistent results.
- Refrigerator: Crucial for setting the chocolate and caramel layers properly; helps achieve the right texture.
- Parchment paper (optional): Can be used to line the muffin tin for easier removal; prevents sticking.
Ingredients & Their Roles in This Christmas Chocolate Caramel Cups
Chocolate Layer
- 1 cup semi-sweet chocolate chips: Provides a rich, sweet base that forms the outer layer of the cups.
Caramel Layer
- 1 cup soft caramel candies, unwrapped: The star ingredient that adds gooey sweetness and a chewy texture.
- 2 tablespoons heavy cream: Helps to create a smooth, pourable caramel mixture.
Sea Salt
- 1 teaspoon flaky sea salt for topping: Enhances the overall flavor and adds a delightful crunch.
Substitutions & Preparation Notes
- Chocolate: Dark or white chocolate can be used for different flavor profiles.
- Caramel: Homemade caramel can be made using sugar, butter, and cream if store-bought is unavailable.
Step-by-Step Guide to Perfect Christmas Chocolate Caramel Cups
- Melt the Chocolate: In a microwave-safe bowl, melt the chocolate chips in 30-second intervals, stirring in between until smooth (about 1-2 minutes total).
- Coat the Muffin Tin: Using a spoon, coat the bottom and sides of a mini muffin tin with the melted chocolate, creating a thin layer. Place in the refrigerator for 10 minutes to set.
- Prepare the Caramel: In a small saucepan over low heat, combine the caramel candies and heavy cream, stirring until fully melted and smooth (about 5 minutes).
- Fill with Caramel: Remove the muffin tin from the refrigerator and spoon the caramel mixture into each chocolate cup, filling them about 3/4 full.
- Set the Caramel: Return the muffin tin to the refrigerator for another 10 minutes to allow the caramel to set.
- Seal with Chocolate: Once the caramel is set, melt the remaining chocolate and pour it over the caramel layer, sealing the cups completely.
- Add Sea Salt: Sprinkle flaky sea salt on top of each cup before the chocolate sets.
- Chill Before Serving: Chill in the refrigerator for at least 30 minutes before serving to ensure the cups are firm.
Chef’s Notes & Pro Tips for Flawless Results
- Make-Ahead Instructions: These cups can be made ahead of time and stored in an airtight container in the refrigerator for up to 2 weeks.
- Storage: Keep them in the fridge to maintain their texture and flavor.
- Equipment Recommendations: Use a silicone muffin tin for easy removal; it prevents sticking.
- Customization Options: Experiment with different toppings like crushed nuts, sprinkles, or flavored sea salts for a unique twist.
Avoid These Common Cooking Mistakes
- Not melting chocolate properly: This can lead to burnt chocolate. Always melt in short intervals and stir frequently.
- Overfilling the cups with caramel: This can cause overflow. Fill only 3/4 full to allow for the chocolate layer.
- Not allowing layers to set: Skipping refrigeration can result in messy cups. Always chill between layers.
- Using cold ingredients: Cold cream can seize the caramel. Ensure all ingredients are at room temperature.
- Not using a non-stick muffin tin: This can make removal difficult. Use silicone or grease the tin well.
- Skipping the sea salt: This enhances flavor. Don’t omit it for the best taste experience.
- Not storing properly: Leaving them out can cause them to lose texture. Store in an airtight container in the fridge.
Creative Variations & Customizations
- Nutty Delight: Add crushed nuts like pecans or almonds to the caramel layer for added crunch.
- Minty Fresh: Incorporate peppermint extract into the chocolate for a festive mint flavor.
- Spiced Up: Add a pinch of cinnamon or nutmeg to the chocolate for a warm, holiday spice.
- Fruit Fusion: Top with dried cranberries or orange zest for a fruity twist.
- Vegan Option: Use dairy-free chocolate and coconut cream for a vegan-friendly version.
Perfect Pairings: What to Serve With Christmas Chocolate Caramel Cups
- Cold Milk: A classic pairing that complements the sweetness of the cups.
- Hot Cocoa: A cozy treat that enhances the chocolate flavor.
- Vanilla Ice Cream: Adds creaminess and balances the richness of the cups.
- Festive Platter: Serve alongside other holiday treats for a beautiful dessert table.
- Red Wine: An adult twist that pairs well with the chocolate.
- Coffee or Espresso: A delightful after-dinner treat that enhances the flavors.
- Gift Boxes: Perfect for sharing with friends and family during the holiday season.
- Holiday Parties: Serve as a sweet finger food option that guests will love.
Storage & Meal Prep Instructions
- Refrigerator Storage: Store in an airtight container in the fridge for up to 2 weeks.
- Freezer Storage: For longer storage, freeze the cups in a single layer, then transfer to a freezer-safe container for up to 3 months.
- Reheating Methods: Allow to thaw in the refrigerator before serving; do not microwave as it may alter the texture.
Nutrition Facts & Health Insights
| Nutrient | Amount per Serving (1 cup) |
|---|---|
| Calories | 120 |
| Sugar | 10 grams |
| Sodium | 50 milligrams |
| Fat | 7 grams |
| Saturated Fat | 4 grams |
| Unsaturated Fat | 2 grams |
| Trans Fat | 0 grams |
| Carbohydrates | 15 grams |
| Fiber | 0 grams |
| Protein | 1 gram |
| Cholesterol | 5 milligrams |
Health Benefits of Key Ingredients
- Chocolate: Contains antioxidants and can improve heart health.
- Caramel: Provides a quick energy boost, perfect for holiday festivities.
- Sea Salt: Enhances flavor and can help balance electrolytes.
Frequently Asked Questions
- Can I use different types of chocolate?Yes, dark or white chocolate can be used for different flavors.
- How long do these cups last?They can be stored in the refrigerator for up to 2 weeks.
- Can I make these cups vegan?Yes, use dairy-free chocolate and coconut cream for the caramel.
- What if my chocolate seizes?If chocolate seizes, add a small amount of vegetable oil to help smooth it out.
- Can I use homemade caramel?Absolutely! Homemade caramel works great in this recipe.
- How do I remove the cups from the tin?If using a non-stick tin, gently twist and pull; silicone tins make it easier.
- Can I freeze these cups?Yes, they can be frozen for up to 3 months; thaw in the refrigerator before serving.
- What can I do if my caramel is too thick?Add a bit more cream and gently reheat to achieve a smoother consistency.
Final Inspiration & Kitchen Confidence
As you embark on making these Christmas Chocolate Caramel Cups, remember that the kitchen is a place of joy and creativity. Celebrate your achievements, whether it’s your first attempt or your hundredth. Each cup you create is a testament to your culinary skills and a gift of love to those you share them with. So gather your ingredients, put on your favorite holiday music, and let the magic of the season inspire you. Happy baking, and enjoy every delicious bite!
Print
Christmas Chocolate Caramel Cups: Irresistibly Creamy Treats!
- Total Time: 1 hour
- Yield: 24 cups 1x
- Diet: Vegetarian
Description
These Christmas Chocolate Caramel Cups are a delightful blend of rich, velvety chocolate and gooey caramel, creating a luxurious treat that melts in your mouth. Each bite offers a perfect balance of sweetness and a hint of salt, making them an irresistible holiday indulgence.
Ingredients
- Chocolate Layer:
- 1 cup semi-sweet chocolate chips
- Caramel Layer:
- 1 cup soft caramel candies, unwrapped
- 2 tablespoons heavy cream
- Sea Salt:
- 1 teaspoon flaky sea salt for topping
Instructions
- In a microwave-safe bowl, melt the chocolate chips in 30-second intervals, stirring in between until smooth (about 1-2 minutes total).
- Using a spoon, coat the bottom and sides of a mini muffin tin with the melted chocolate, creating a thin layer. Place in the refrigerator for 10 minutes to set.
- In a small saucepan over low heat, combine the caramel candies and heavy cream, stirring until fully melted and smooth (about 5 minutes).
- Remove the muffin tin from the refrigerator and spoon the caramel mixture into each chocolate cup, filling them about 3/4 full.
- Return the muffin tin to the refrigerator for another 10 minutes to allow the caramel to set.
- Once the caramel is set, melt the remaining chocolate and pour it over the caramel layer, sealing the cups completely.
- Sprinkle flaky sea salt on top of each cup before the chocolate sets.
- Chill in the refrigerator for at least 30 minutes before serving.
Notes
- These cups can be made ahead of time and stored in an airtight container in the refrigerator for up to 2 weeks.
- For a different flavor, try using dark chocolate or white chocolate instead of semi-sweet.
- If you don’t have caramel candies, you can make homemade caramel using sugar, butter, and cream.
- Prep Time: 20 minutes
- Cook Time: 10 minutes
- Category: desserts
- Method: no-bake
- Cuisine: American
Nutrition
- Serving Size: 1 chocolate caramel cup
- Calories: 120
- Sugar: 10 grams
- Sodium: 50 milligrams
- Fat: 7 grams
- Saturated Fat: 4 grams
- Unsaturated Fat: 2 grams
- Trans Fat: 0 grams
- Carbohydrates: 15 grams
- Fiber: 0 grams
- Protein: 1 gram
- Cholesterol: 5 milligrams
Keywords: Christmas Chocolate Caramel Cups, holiday treats, chocolate cups, caramel desserts, festive sweets, no-bake desserts, easy holiday recipes, chocolate lovers, homemade candy, Christmas desserts, sweet gifts, party snacks, vegetarian desserts


