Introduction to Cream-Filled Cookie Domes
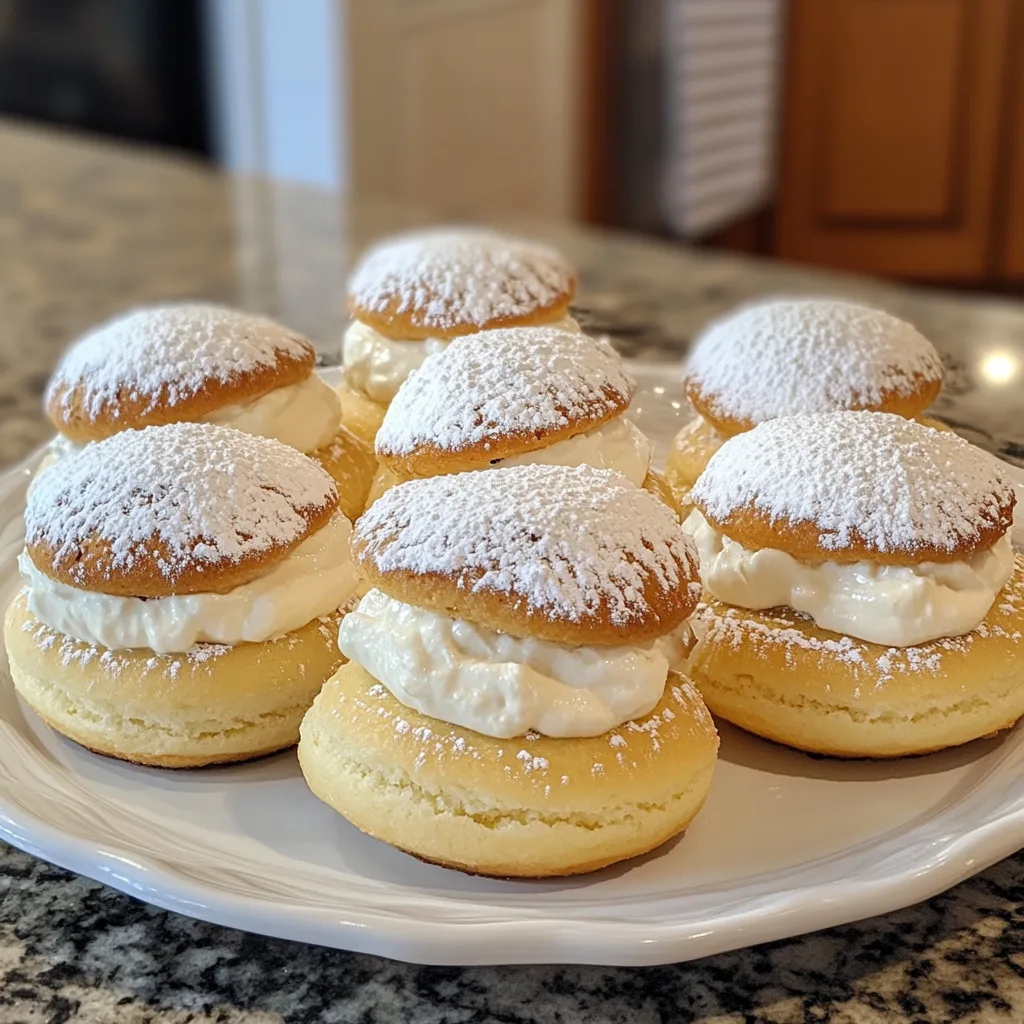
Welcome to the world of Cream-Filled Cookie Domes, where every bite is a delightful surprise! As a busy mom, I know how challenging it can be to whip up something special amidst the chaos of daily life. These cookie domes are not just a treat; they’re a quick solution for satisfying your sweet tooth and impressing your loved ones. Imagine soft, chocolatey cookies hugging a rich, creamy filling—pure bliss! Whether it’s a family gathering or a cozy night in, these treats are sure to bring smiles and sweet moments to your kitchen.
Why You’ll Love This Cream-Filled Cookie Domes
These Cream-Filled Cookie Domes are a dream come true for busy lives! They’re easy to make, requiring just a handful of ingredients and minimal prep time. Plus, the taste is simply irresistible—soft cookies paired with a luscious cream filling create a delightful contrast that will have everyone coming back for more. Whether you’re treating yourself or sharing with family, these cookie domes are sure to brighten your day!
Ingredients for Cream-Filled Cookie Domes
Gathering the right ingredients is the first step to creating these delightful Cream-Filled Cookie Domes. Here’s what you’ll need:
- All-purpose flour: This is the backbone of your cookies, providing structure and a soft texture.
- Unsweetened cocoa powder: It adds a rich chocolate flavor, making these cookies a true indulgence.
- Granulated sugar: Sweetness is key! This helps balance the cocoa and creates a tender cookie.
- Unsalted butter: Softened butter gives the cookies a rich, buttery flavor and helps achieve that fluffy texture.
- Large egg: Eggs bind the ingredients together and add moisture, making the cookies soft and chewy.
- Vanilla extract: A splash of vanilla enhances the overall flavor, making each bite more aromatic.
- Baking soda: This leavening agent helps the cookies rise, giving them a light and airy feel.
- Salt: Just a pinch enhances the sweetness and balances the flavors beautifully.
- Heavy cream: The star of the filling! It whips up to a luscious, creamy texture that’s simply irresistible.
- Powdered sugar: This sweetens the cream filling and helps it hold its shape when whipped.
- Vanilla extract (for filling): A touch of vanilla in the filling adds depth and richness to the cream.
For those looking to get creative, consider adding chocolate chips to the dough for an extra chocolatey experience. You can find the exact measurements for these ingredients at the bottom of the article, ready for printing!
How to Make Cream-Filled Cookie Domes
Step 1: Preheat and Prepare
First things first, preheat your oven to 350°F (175°C). This step is crucial for achieving that perfect cookie texture. While the oven warms up, line a baking sheet with parchment paper. This not only prevents sticking but also makes cleanup a breeze. Trust me, a little prep goes a long way in the kitchen!
Step 2: Cream the Butter and Sugar
In a mixing bowl, combine the softened butter and granulated sugar. Using a hand mixer or stand mixer, beat them together until the mixture is light and fluffy. This process usually takes about 2-3 minutes. The fluffiness is key, as it helps create a tender cookie. You’ll know it’s ready when it looks pale and airy—just like a cloud!
Step 3: Mix in Egg and Vanilla
Next, crack in the large egg and pour in the vanilla extract. Mix everything together until well combined. The egg adds moisture and binds the ingredients, while the vanilla enhances the flavor. It’s like a warm hug for your cookie dough! Make sure there are no streaks of egg left; we want a smooth, cohesive mixture.
Step 4: Combine Dry Ingredients
In a separate bowl, whisk together the all-purpose flour, cocoa powder, baking soda, and salt. This step ensures that the dry ingredients are evenly distributed. It’s like giving your cookies a solid foundation! Once mixed, gradually add this dry mixture to the wet ingredients, stirring gently until everything is just combined. Avoid overmixing to keep those cookies soft!
Step 5: Form the Dough
Now it’s time to form the dough! Using a cookie scoop, drop rounded portions of dough onto the prepared baking sheet. Make sure to space them about 2 inches apart, as they will spread while baking. This is where the magic happens! Each scoop should be generous, ensuring you get those delightful domes.
Step 6: Bake the Cookies
Pop the baking sheet into your preheated oven and bake for 10-12 minutes. You’ll know they’re done when the edges are set but the centers still look slightly soft. Once baked, remove them from the oven and let them cool on the baking sheet for a few minutes. Then, transfer them to a wire rack to cool completely. Patience is key here!
Step 7: Prepare the Cream Filling
While the cookies cool, let’s whip up that luscious cream filling! In a clean bowl, pour in the heavy cream and start whipping it with a mixer. Gradually add the powdered sugar and vanilla extract. Keep whipping until you reach stiff peaks. This means the cream holds its shape beautifully. It’s like creating a fluffy cloud of sweetness!
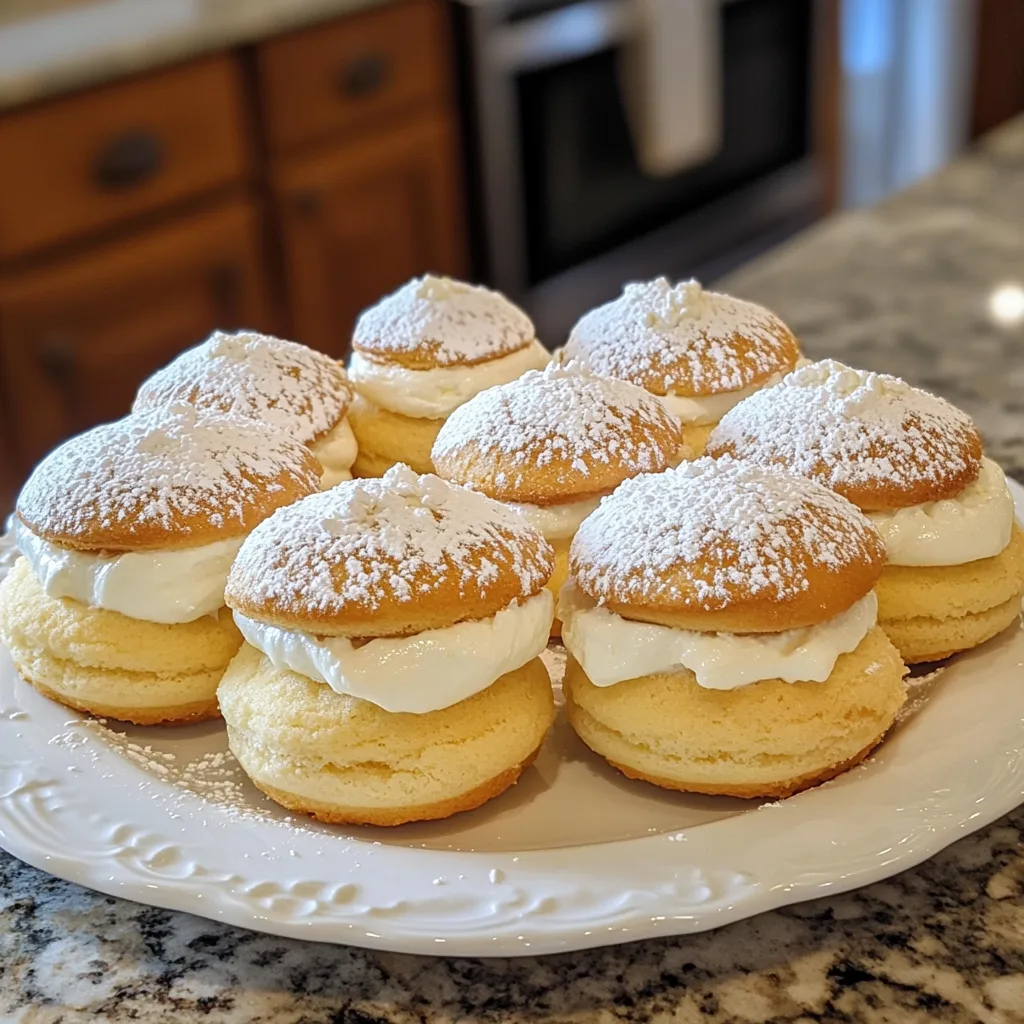
Step 8: Assemble the Cookie Domes
Once your cookies are cool, it’s assembly time! Take half of the cookies and pipe or spoon the whipped cream filling onto the flat side. Then, gently place the remaining cookies on top to create your domes. It’s like building a sweet little sandwich! Make sure to press down lightly so the filling oozes out just a bit—yum!
Step 9: Chill Before Serving
Finally, chill your assembled cookie domes in the refrigerator for at least 30 minutes. This step is essential for setting the filling and enhancing the flavors. Plus, it makes them extra refreshing! When you’re ready to serve, just plate them up and watch everyone’s eyes light up. Enjoy every delicious bite!
Tips for Success
- Make sure your butter is softened for easy creaming.
- Don’t skip the chilling step; it helps the filling set perfectly.
- Use a cookie scoop for uniform sizes and even baking.
- Experiment with different flavors of whipped cream for variety.
- Store leftover cookie domes in an airtight container to keep them fresh.
Equipment Needed
- Baking sheet: A standard one works, but a silicone mat can be a great alternative.
- Parchment paper: If you don’t have this, greasing the baking sheet will do.
- Mixing bowls: Any size will work, but a large bowl is ideal for mixing.
- Hand or stand mixer: A whisk can substitute, but it’ll take longer.
- Cookie scoop: A tablespoon can work in a pinch for portioning dough.
Variations
- For a fruity twist, add a layer of fresh berries between the cookies and cream filling.
- Try using almond extract instead of vanilla for a nutty flavor that pairs beautifully with chocolate.
- For a gluten-free option, substitute all-purpose flour with a gluten-free flour blend.
- Add a pinch of espresso powder to the cookie dough for a mocha flavor that coffee lovers will adore.
- Experiment with different types of cream, like coconut cream, for a dairy-free version.
Serving Suggestions
- Pair your Cream-Filled Cookie Domes with a scoop of vanilla ice cream for an indulgent dessert.
- Serve alongside a steaming cup of coffee or tea to balance the sweetness.
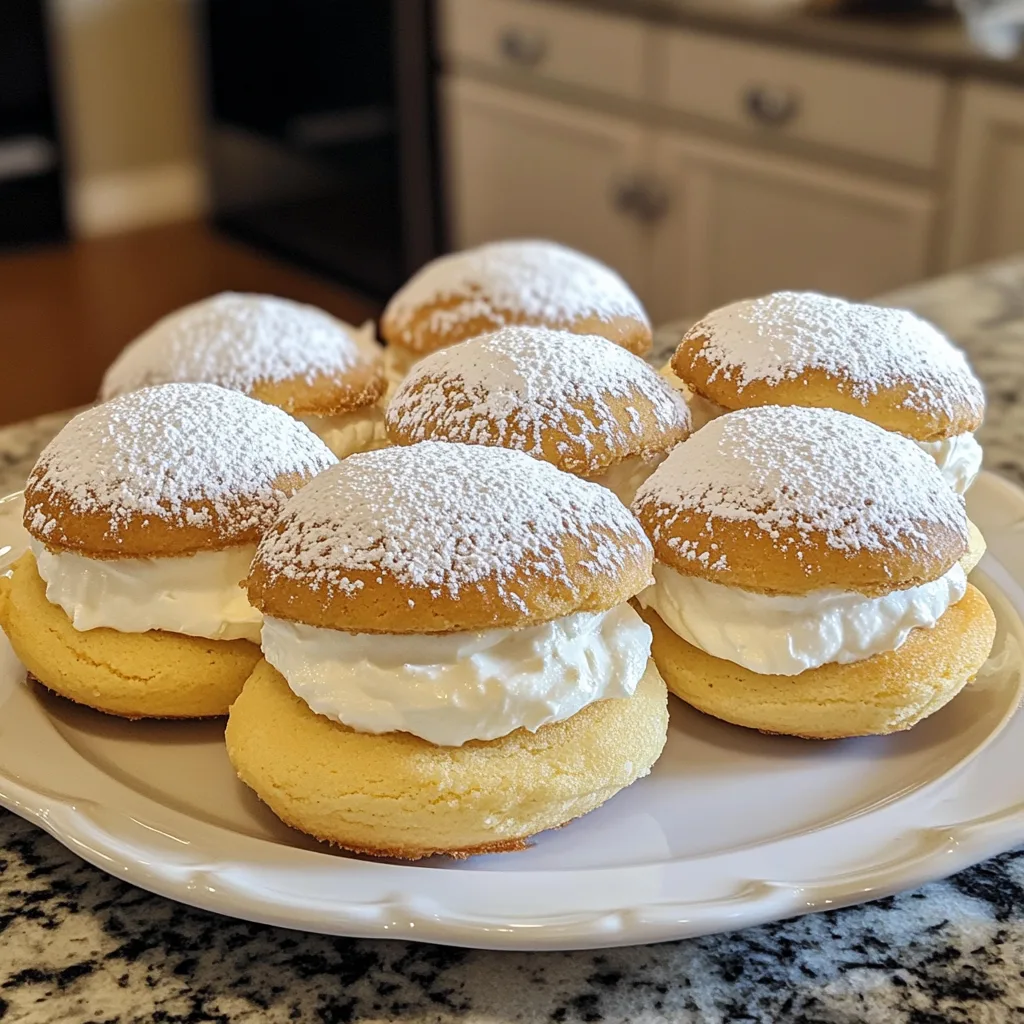
- For a festive touch, dust with cocoa powder or powdered sugar before serving.
- Arrange on a decorative platter for an eye-catching presentation at gatherings.
FAQs about Cream-Filled Cookie Domes
Can I make Cream-Filled Cookie Domes ahead of time?
Absolutely! You can prepare the cookies and the cream filling separately. Just assemble them right before serving for the best texture. They can be stored in the refrigerator for up to three days.
What can I use instead of heavy cream for the filling?
If you’re looking for a lighter option, you can use whipped topping or even Greek yogurt. Just keep in mind that the texture and flavor will differ slightly from the original recipe.
How do I store leftover cookie domes?
Store your Cream-Filled Cookie Domes in an airtight container in the refrigerator. They’ll stay fresh for about three days, but I doubt they’ll last that long!
Can I freeze these cookie domes?
Yes, you can freeze the cookies without the filling. Just make sure they’re completely cooled before placing them in a freezer-safe container. When you’re ready to enjoy, thaw and fill them with cream!
What flavors can I add to the cream filling?
The possibilities are endless! You can add flavors like almond, mint, or even a splash of coffee for a unique twist. Get creative and make it your own!
Final Thoughts
Creating Cream-Filled Cookie Domes is more than just baking; it’s about crafting sweet memories in your kitchen. Each bite is a delightful reminder of the joy that simple ingredients can bring. Whether you’re sharing them with family or enjoying a quiet moment to yourself, these treats are sure to lift your spirits. The combination of soft cookies and creamy filling is a hug for your taste buds! So, roll up your sleeves, gather your loved ones, and dive into this delicious adventure. Trust me, the smiles you’ll create are worth every minute spent in the kitchen!
Print
Cream-Filled Cookie Domes: A Sweet Delight Awaits!
- Total Time: 1 hour 2 minutes
- Yield: 12 cookie domes 1x
- Diet: Vegetarian
Description
Cream-Filled Cookie Domes are delightful treats that combine a soft cookie exterior with a rich and creamy filling, perfect for satisfying your sweet tooth.
Ingredients
- 1 cup all-purpose flour
- 1/2 cup unsweetened cocoa powder
- 1/2 cup granulated sugar
- 1/2 cup unsalted butter, softened
- 1 large egg
- 1 teaspoon vanilla extract
- 1/4 teaspoon baking soda
- 1/4 teaspoon salt
- 1 cup heavy cream
- 1/2 cup powdered sugar
- 1 teaspoon vanilla extract (for filling)
Instructions
- Preheat your oven to 350°F (175°C) and line a baking sheet with parchment paper.
- In a bowl, cream together the softened butter and granulated sugar until light and fluffy.
- Add the egg and vanilla extract, mixing until well combined.
- In another bowl, whisk together the flour, cocoa powder, baking soda, and salt.
- Gradually add the dry ingredients to the wet mixture, stirring until a dough forms.
- Using a cookie scoop, drop dough onto the prepared baking sheet, spacing them about 2 inches apart.
- Bake for 10-12 minutes, or until the edges are set. Allow to cool completely.
- In a separate bowl, whip the heavy cream until soft peaks form. Gradually add powdered sugar and vanilla extract, continuing to whip until stiff peaks form.
- Once the cookies are cool, pipe or spoon the whipped cream filling onto the flat side of half the cookies, then top with the remaining cookies to create domes.
- Chill in the refrigerator for at least 30 minutes before serving.
Notes
- For a chocolate variation, add chocolate chips to the cookie dough.
- Store in an airtight container in the refrigerator for up to 3 days.
- Feel free to experiment with different flavors of whipped cream for the filling.
- Prep Time: 20 minutes
- Cook Time: 12 minutes
- Category: Dessert
- Method: Baking
- Cuisine: American
Nutrition
- Serving Size: 1 cookie dome
- Calories: 250
- Sugar: 15g
- Sodium: 150mg
- Fat: 12g
- Saturated Fat: 7g
- Unsaturated Fat: 3g
- Trans Fat: 0g
- Carbohydrates: 30g
- Fiber: 2g
- Protein: 3g
- Cholesterol: 30mg
Keywords: Cream-Filled Cookie Domes, dessert, cookies, sweet treats


