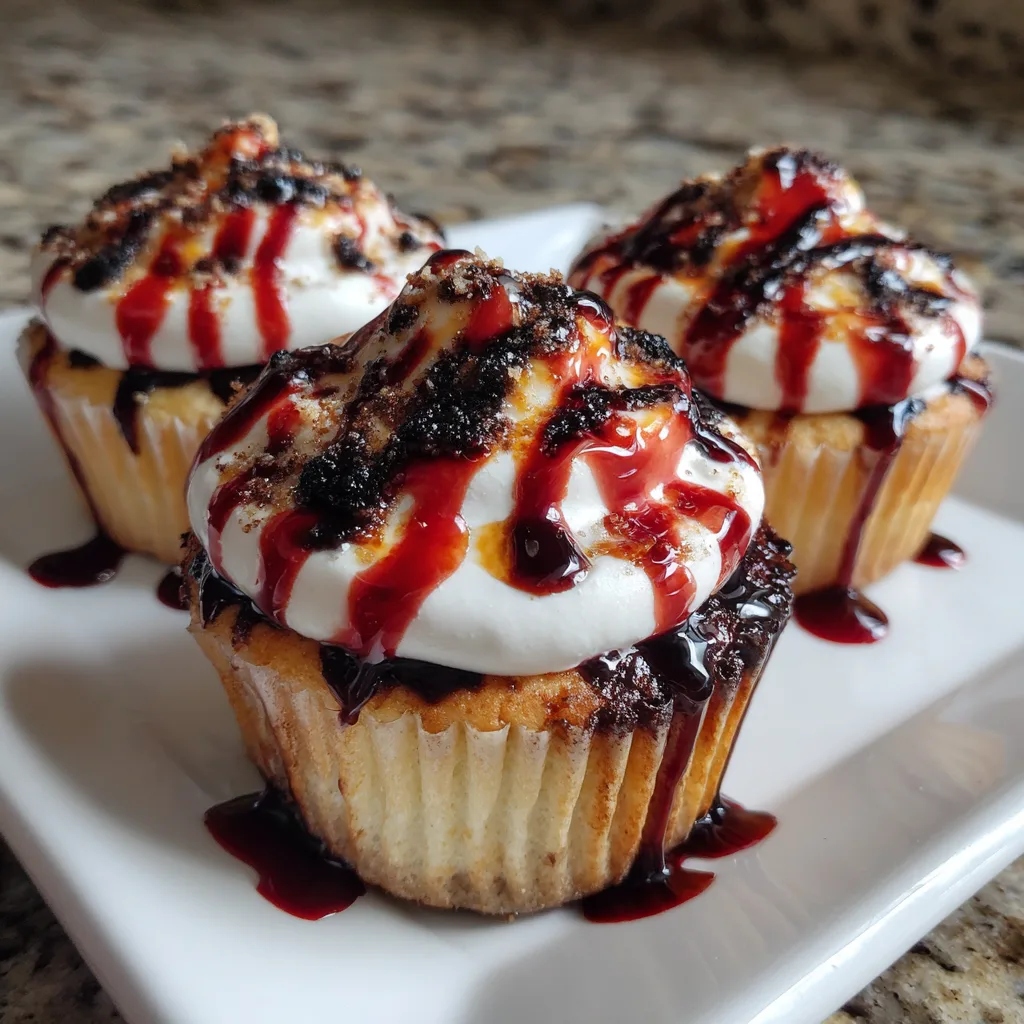
Introduction to Haunted Grave Cupcakes
As the leaves turn and the air gets crisp, it’s time to embrace the spooky season! These Haunted Grave Cupcakes are not just a treat; they’re a delightful way to bring a little magic to your Halloween celebrations. I know how busy life can get, especially for us moms juggling work, kids, and everything in between. That’s why this recipe is perfect—it’s quick, fun, and sure to impress your loved ones. Imagine their faces lighting up as they bite into these delicious chocolate cupcakes, topped with eerie decorations. Let’s dive into this hauntingly good recipe!
Why You’ll Love This Haunted Grave Cupcakes
These Haunted Grave Cupcakes are a breeze to whip up, making them perfect for busy days. With just a few simple steps, you can create a spooky dessert that tastes as good as it looks. The rich chocolate flavor will have everyone coming back for more. Plus, the fun decorations let you unleash your creativity, making this a delightful project for the whole family!
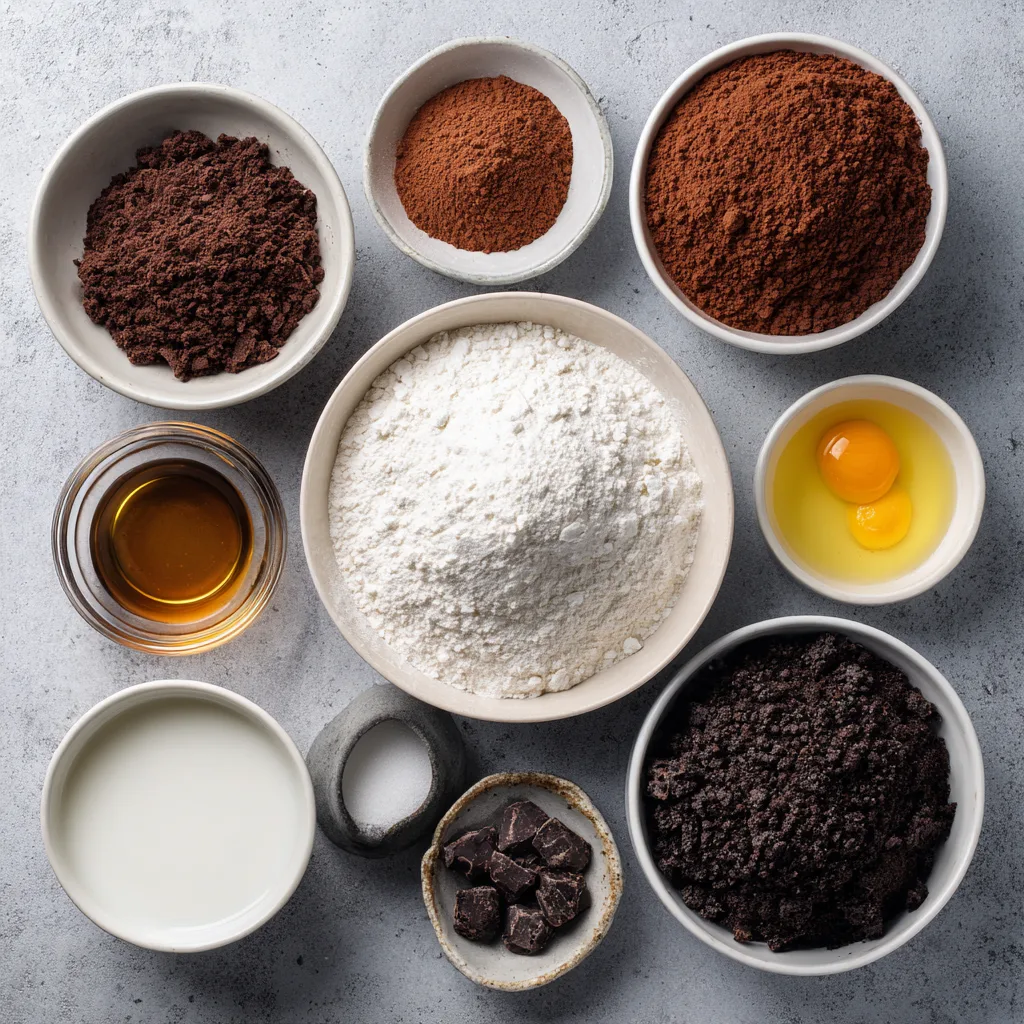
Ingredients for Haunted Grave Cupcakes
Gathering the right ingredients is half the fun! Here’s what you’ll need to create these spooky delights:
- All-purpose flour: This is the base of your cupcakes, giving them structure and a soft texture.
- Granulated sugar: Sweetness is key! It balances the rich cocoa flavor and adds moisture.
- Unsweetened cocoa powder: This gives your cupcakes that deep, chocolatey goodness. For a richer taste, consider using dark cocoa powder.
- Baking powder and baking soda: These leavening agents help your cupcakes rise, making them light and fluffy.
- Salt: Just a pinch enhances the flavors and balances the sweetness.
- Milk: Adds moisture and richness to the batter, making each bite deliciously tender.
- Vegetable oil: This keeps your cupcakes moist and adds a lovely texture.
- Eggs: They bind everything together and help with the rise, giving your cupcakes a nice lift.
- Vanilla extract: A splash of vanilla adds warmth and depth to the flavor profile.
- Boiling water: This may sound unusual, but it helps to bloom the cocoa powder, intensifying the chocolate flavor.
- Chocolate frosting: The crowning glory! It adds sweetness and a creamy texture to your cupcakes.
- Crushed chocolate cookies: These create a dirt effect on top, adding to the spooky theme.
- Gummy worms: A fun and creepy decoration that kids will love!
- Edible grave markers (optional): These can be a fun touch to personalize your cupcakes for Halloween.
For exact measurements, check the bottom of the article where you can find everything listed for easy printing. Happy baking!
How to Make Haunted Grave Cupcakes
Now that we have our ingredients ready, let’s get baking! Follow these simple steps to create your Haunted Grave Cupcakes. Trust me, the process is as fun as the final result!
Step 1: Preheat and Prepare
First things first, preheat your oven to 350°F (175°C). This ensures your cupcakes bake evenly. While the oven warms up, line a cupcake pan with cupcake liners. I love using festive liners to add a little extra flair!
Step 2: Mix Dry Ingredients
In a large bowl, combine the all-purpose flour, granulated sugar, unsweetened cocoa powder, baking powder, baking soda, and salt. Whisk them together until they’re well blended. This step is crucial for a uniform texture in your cupcakes. Plus, the aroma of cocoa will make your kitchen smell heavenly!
Step 3: Add Wet Ingredients
Next, it’s time to add the wet ingredients. Pour in the milk, vegetable oil, eggs, and vanilla extract. Mix everything together until it’s smooth and creamy. Don’t worry if it looks a bit thick; that’s perfectly normal. The magic happens in the next step!
Step 4: Combine with Boiling Water
Now, carefully stir in the boiling water. This might seem odd, but it helps to bloom the cocoa powder, enhancing that rich chocolate flavor. Your batter will become thin, but that’s exactly what we want for moist cupcakes!
Step 5: Fill Cupcake Liners
Using a ladle or a measuring cup, pour the batter into the prepared cupcake liners. Fill each liner about two-thirds full. This allows room for the cupcakes to rise without overflowing. I always make a little mess, but that’s part of the fun!
Step 6: Bake the Cupcakes
Pop the cupcake pan into the preheated oven and bake for 18-20 minutes. To check if they’re done, insert a toothpick into the center of a cupcake. If it comes out clean, they’re ready! The smell wafting through your home will be irresistible.
Step 7: Cool and Frost
Once baked, remove the cupcakes from the oven and let them cool in the pan for about 5 minutes. Then, transfer them to a wire rack to cool completely. Patience is key here! Once they’re cool, frost them generously with chocolate frosting. Don’t forget to sprinkle crushed chocolate cookies on top for that spooky dirt effect!
Tips for Success
- Make sure your ingredients are at room temperature for better mixing.
- Don’t skip the boiling water; it’s essential for moist cupcakes.
- Use a cookie scoop for even batter distribution in the liners.
- Let the cupcakes cool completely before frosting to prevent melting.
- Get creative with decorations—let your kids help for extra fun!
Equipment Needed
- Cupcake pan: A standard 12-cup pan works perfectly. If you don’t have one, use a muffin tin.
- Cupcake liners: Choose festive ones for Halloween. Parchment paper can be a great alternative.
- Mixing bowls: A large bowl for dry ingredients and a medium bowl for wet ingredients.
- Whisk: A hand whisk or electric mixer will do the job.
- Measuring cups and spoons: Essential for accurate ingredient measurements.
Variations
- Gluten-Free: Substitute all-purpose flour with a gluten-free blend to make these cupcakes suitable for gluten-sensitive friends.
- Vegan: Replace eggs with flaxseed meal (1 tablespoon flaxseed meal + 2.5 tablespoons water per egg) and use almond milk instead of regular milk.
- Mint Chocolate: Add a few drops of peppermint extract to the batter for a refreshing twist on the classic chocolate flavor.
- Spicy Chocolate: Mix in a pinch of cayenne pepper or cinnamon for a warm, spicy kick that pairs beautifully with chocolate.
- Nutty Addition: Fold in some chopped nuts, like walnuts or pecans, for added texture and flavor.
Serving Suggestions
- Pair these Haunted Grave Cupcakes with a spooky punch or hot apple cider for a festive drink.
- Serve on a Halloween-themed platter to enhance the spooky vibe.
- Consider adding a side of ghost-shaped cookies for an extra treat.
- For a fun twist, use dry ice in a bowl of water for a foggy effect!
FAQs about Haunted Grave Cupcakes
As you embark on your spooky baking adventure, you might have a few questions about these Haunted Grave Cupcakes. Here are some common queries I’ve encountered, along with helpful answers!
Can I make these cupcakes ahead of time?
Absolutely! You can bake the cupcakes a day in advance. Just store them in an airtight container at room temperature. Frost them on the day you plan to serve for the best results.
What can I use instead of chocolate frosting?
If chocolate isn’t your thing, feel free to use vanilla frosting or cream cheese frosting. You can even tint it green or purple for a more Halloween-themed look!
How do I store leftover cupcakes?
Store any leftover Haunted Grave Cupcakes in an airtight container at room temperature for up to three days. If you want to keep them longer, consider freezing them without frosting.
Can I customize the decorations?
Definitely! Get creative with your decorations. Use candy eyeballs, spooky sprinkles, or even edible glitter to make your cupcakes uniquely yours. The sky’s the limit!
Are these cupcakes suitable for kids?
Yes! These Haunted Grave Cupcakes are kid-friendly and perfect for Halloween parties. Just be mindful of any allergies when choosing decorations like gummy worms.
Final Thoughts
Creating these Haunted Grave Cupcakes is more than just baking; it’s about making memories with your loved ones. The joy of watching your kids help decorate, the laughter shared over spooky treats, and the delight on everyone’s faces as they take that first bite are priceless. This recipe is a perfect blend of fun and flavor, making it a highlight of your Halloween festivities. So, roll up your sleeves, gather your ingredients, and let the magic of Halloween fill your kitchen. Trust me, these cupcakes will become a cherished tradition in your home!
Print
Haunted Grave Cupcakes That Will Thrill Your Halloween!
- Total Time: 40 minutes
- Yield: 12 cupcakes 1x
- Diet: Vegetarian
Description
These Haunted Grave Cupcakes are a spooky and delicious treat perfect for Halloween celebrations, featuring chocolate cupcakes topped with eerie decorations.
Ingredients
- 1 ½ cups all-purpose flour
- 1 cup granulated sugar
- ½ cup unsweetened cocoa powder
- 1 tsp baking powder
- 1 tsp baking soda
- ½ tsp salt
- 1 cup milk
- ½ cup vegetable oil
- 2 large eggs
- 2 tsp vanilla extract
- 1 cup boiling water
- Chocolate frosting
- Crushed chocolate cookies (for dirt)
- Gummy worms (for decoration)
- Edible grave markers (optional)
Instructions
- Preheat your oven to 350°F (175°C) and line a cupcake pan with cupcake liners.
- In a large bowl, mix together the flour, sugar, cocoa powder, baking powder, baking soda, and salt.
- Add the milk, vegetable oil, eggs, and vanilla extract to the dry ingredients and mix until well combined.
- Stir in the boiling water until the batter is smooth.
- Pour the batter into the prepared cupcake liners, filling each about 2/3 full.
- Bake for 18-20 minutes or until a toothpick inserted in the center comes out clean.
- Allow the cupcakes to cool completely before frosting.
- Frost the cooled cupcakes with chocolate frosting and sprinkle crushed chocolate cookies on top to create a dirt effect.
- Decorate with gummy worms and edible grave markers for a spooky touch.
Notes
- For a richer flavor, use dark cocoa powder.
- Store cupcakes in an airtight container at room temperature for up to 3 days.
- Feel free to customize decorations based on your Halloween theme.
- Prep Time: 20 minutes
- Cook Time: 20 minutes
- Category: Dessert
- Method: Baking
- Cuisine: American
Nutrition
- Serving Size: 1 cupcake
- Calories: 250
- Sugar: 20g
- Sodium: 150mg
- Fat: 12g
- Saturated Fat: 3g
- Unsaturated Fat: 8g
- Trans Fat: 0g
- Carbohydrates: 35g
- Fiber: 2g
- Protein: 3g
- Cholesterol: 30mg
Keywords: Haunted Grave Cupcakes, Halloween cupcakes, spooky desserts, chocolate cupcakes


