
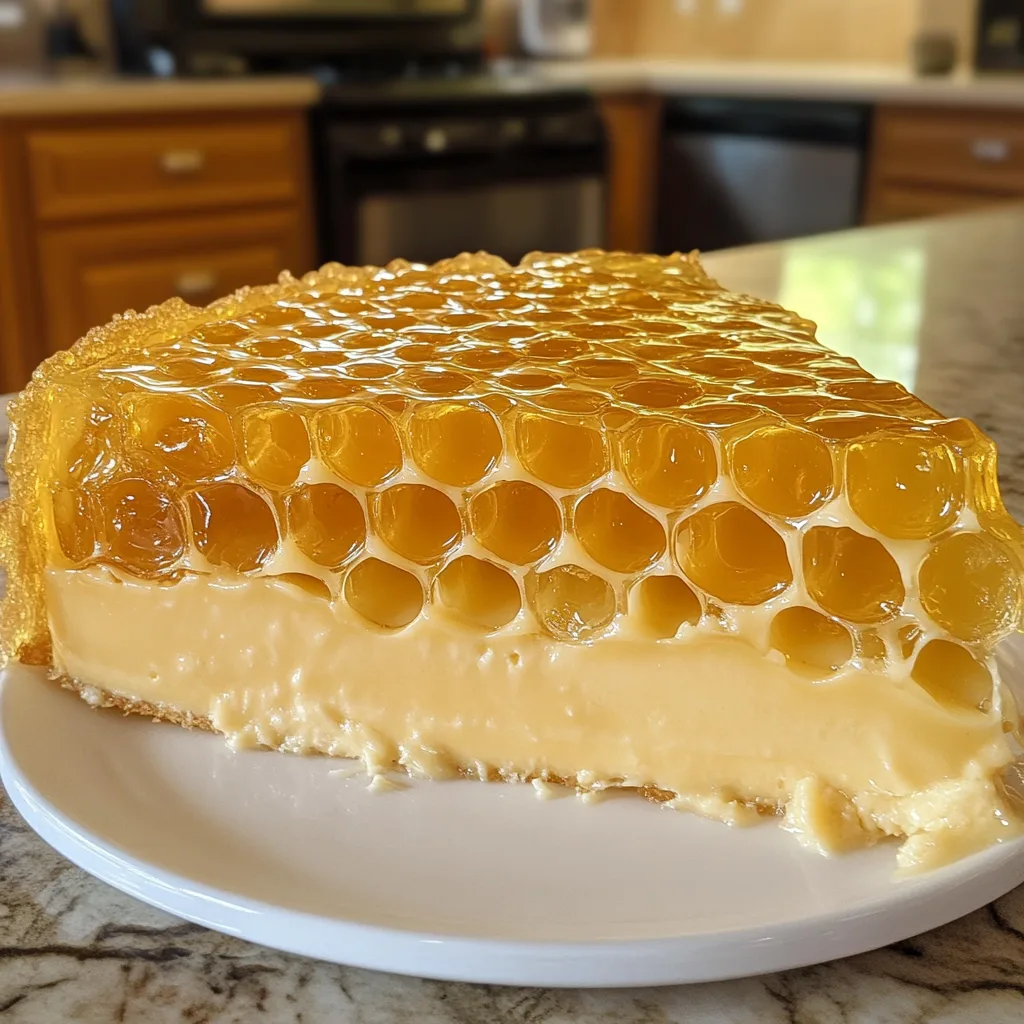
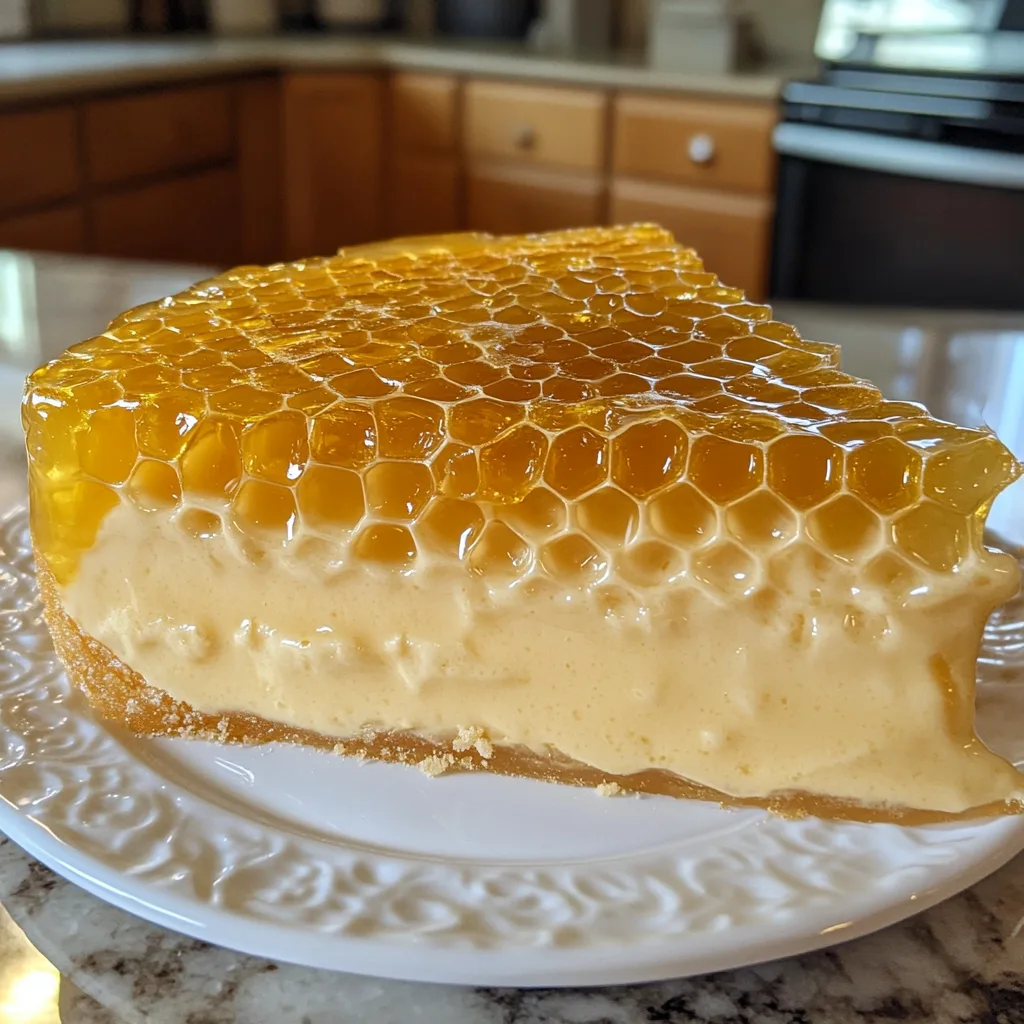
Introduction to Honeycomb Cheesecake
As a busy mom, I know how precious time can be, especially when it comes to whipping up something sweet. That’s why I’m excited to share my Honeycomb Cheesecake recipe with you! This delightful dessert combines the creamy richness of cheesecake with the sweet, crunchy goodness of honeycomb. It’s perfect for impressing guests or simply treating yourself after a long day. Plus, it’s surprisingly easy to make, so you can enjoy a slice of happiness without spending hours in the kitchen. Trust me, this is a dessert you won’t want to miss!
Why You’ll Love This Honeycomb Cheesecake
This Honeycomb Cheesecake is a game-changer for busy lives. It’s quick to prepare, taking just 20 minutes of hands-on time. The creamy texture paired with the delightful crunch of honeycomb creates a flavor explosion that will have everyone asking for seconds. Plus, it’s a no-fuss dessert that looks stunning on any table, making it perfect for gatherings or a cozy family night. You’ll love how easy it is to impress!
Ingredients for Honeycomb Cheesecake
Gathering the right ingredients is the first step to creating your Honeycomb Cheesecake masterpiece. Here’s what you’ll need:
- Digestive biscuits: These provide a crunchy base. You can substitute with graham crackers for a different flavor.
- Unsalted butter: This binds the biscuit base together. Using unsalted allows you to control the saltiness of your dessert.
- Cream cheese: The star of the show! It gives the cheesecake its creamy texture. Full-fat cream cheese is best for richness.
- Sugar: Sweetens the filling. You can use granulated sugar or try brown sugar for a deeper flavor.
- Large eggs: These help set the cheesecake. Make sure they’re at room temperature for better mixing.
- Sour cream: Adds tanginess and creaminess. Greek yogurt can be a great substitute if you’re looking for a lighter option.
- Vanilla extract: Enhances the overall flavor. Pure vanilla extract is always a good choice for the best taste.
- Honeycomb: The delightful crunch! You can find it at specialty stores or make your own if you’re feeling adventurous.
For exact measurements, check the bottom of the article where you can find everything listed for easy printing. Happy baking!
How to Make Honeycomb Cheesecake
Now that you have your ingredients ready, let’s dive into the steps to create this delightful Honeycomb Cheesecake. Each step is simple, and I promise you’ll feel like a pro in no time!
Step 1: Preheat the Oven
First things first, preheat your oven to 160°C (320°F). Preheating is crucial because it ensures that your cheesecake bakes evenly. A hot oven helps set the filling just right, giving you that perfect creamy texture.
Step 2: Prepare the Biscuit Base
Next, grab those digestive biscuits and crush them into fine crumbs. You can use a food processor or place them in a zip-top bag and smash them with a rolling pin. Once crushed, mix the crumbs with melted butter until it resembles wet sand. This mixture will form the delicious base of your cheesecake.
Step 3: Press the Base into the Pan
Now, take your springform pan and evenly press the biscuit mixture into the bottom. Use the back of a measuring cup or your fingers to pack it down firmly. This step is key to ensuring your base holds together when you slice into the cheesecake later.
Step 4: Mix the Cream Cheese Filling
In a large bowl, beat the cream cheese and sugar together until smooth and creamy. I like to use an electric mixer for this, as it makes the process quick and easy. Make sure there are no lumps; a smooth filling is essential for a luscious cheesecake.
Step 5: Add Eggs One at a Time
Now, it’s time to add the eggs. Crack them in one at a time, mixing well after each addition. This helps incorporate air into the batter, making your cheesecake light and fluffy. Don’t rush this step; take your time to mix thoroughly!
Step 6: Incorporate Sour Cream and Vanilla
Next, stir in the sour cream and vanilla extract. These ingredients add a lovely tang and depth of flavor to your cheesecake. They also contribute to that creamy texture we all love. Mix until everything is well combined.
Step 7: Fold in the Honeycomb
Now comes the fun part! Gently fold in the crushed honeycomb. Use a spatula to carefully mix it into the batter, ensuring even distribution. This step adds that delightful crunch and sweetness that makes this cheesecake so special.
Step 8: Pour and Bake
Pour the cheesecake mixture over your prepared biscuit base. Spread it out evenly with a spatula. Then, pop it in the oven and bake for 50-60 minutes. You want it to be set but still slightly wobbly in the center. This will give you that perfect creamy texture once it cools.
Step 9: Cooling and Refrigeration
After baking, let your cheesecake cool in the pan for about an hour. Then, transfer it to the fridge and chill for at least 4 hours, or overnight if you can wait! Refrigeration is essential for the flavors to meld and for the cheesecake to set properly.
Tips for Success
- Use room temperature ingredients for a smoother batter.
- Don’t overmix after adding the eggs; this keeps your cheesecake light.
- Check for doneness by gently shaking the pan; it should wobble slightly in the center.
- For a cleaner slice, use a hot knife to cut through the cheesecake.
- Top with extra crushed honeycomb just before serving for added crunch!
Equipment Needed
- Springform pan: Essential for easy removal. A regular cake pan works too, but slicing will be trickier.
- Mixing bowls: Use a large bowl for the filling and a smaller one for the biscuit base.
- Electric mixer: Makes beating the cream cheese a breeze. A whisk works if you’re feeling strong!
- Spatula: Perfect for folding in the honeycomb and spreading the batter.
- Food processor or rolling pin: For crushing the biscuits. A zip-top bag and a heavy object can do the trick too!
Variations
- Chocolate Honeycomb Cheesecake: Add cocoa powder to the cream cheese mixture for a chocolatey twist. You can also fold in chocolate chips for extra indulgence.
- Fruit-Infused Cheesecake: Incorporate pureed fruits like strawberries or raspberries into the filling for a fruity flavor. Top with fresh fruit for a beautiful presentation.
- Gluten-Free Option: Substitute digestive biscuits with gluten-free cookies or almond flour for the crust. Ensure all other ingredients are gluten-free as well.
- Vegan Honeycomb Cheesecake: Use vegan cream cheese and a flaxseed egg substitute. For the honeycomb, try a vegan version made from sugar and corn syrup.
- Nutty Crunch: Add crushed nuts like almonds or pecans to the biscuit base for an extra layer of flavor and texture.
Serving Suggestions
- Pair your Honeycomb Cheesecake with a dollop of whipped cream for added creaminess.
- Serve alongside fresh berries like strawberries or blueberries for a pop of color and freshness.
- Drizzle with chocolate or caramel sauce for an extra indulgent touch.
- Enjoy with a cup of coffee or tea to balance the sweetness.
- Garnish with mint leaves for a beautiful presentation.
FAQs about Honeycomb Cheesecake
Can I make Honeycomb Cheesecake ahead of time?
Absolutely! In fact, making it a day in advance allows the flavors to meld beautifully. Just be sure to keep it covered in the fridge until you’re ready to serve.
What can I use instead of honeycomb?
If you can’t find honeycomb, crushed toffee or caramel candies work well as a substitute. They’ll still give you that sweet crunch!
How do I store leftover Honeycomb Cheesecake?
Store any leftovers in an airtight container in the fridge. It should last for about 3-4 days, but I doubt it will last that long!
Can I freeze Honeycomb Cheesecake?
Yes, you can freeze it! Just wrap it tightly in plastic wrap and then in foil. It can be frozen for up to 2 months. Thaw it in the fridge before serving.
What drinks pair well with Honeycomb Cheesecake?
A nice cup of coffee or a sweet dessert wine complements the cheesecake perfectly. You could also serve it with a refreshing herbal tea for a lighter option.
Final Thoughts
Making this Honeycomb Cheesecake is more than just baking; it’s about creating sweet memories with loved ones. The joy of watching their faces light up with each creamy, crunchy bite is priceless. This dessert is a celebration of flavors and textures, perfect for any occasion. Whether it’s a family gathering or a quiet evening at home, this cheesecake brings a touch of magic to the table. So, roll up your sleeves, gather your ingredients, and let the delightful aroma fill your kitchen. Trust me, you’ll be glad you did!
Print
Honeycomb Cheesecake: A Sweet Delight You Must Try!
- Total Time: 4 hours 20 minutes
- Yield: 8 servings 1x
- Diet: Vegetarian
Description
Honeycomb Cheesecake is a delicious dessert that combines the creamy texture of cheesecake with the sweet, crunchy goodness of honeycomb.
Ingredients
- 200g digestive biscuits
- 100g unsalted butter, melted
- 600g cream cheese
- 150g sugar
- 3 large eggs
- 200ml sour cream
- 1 tsp vanilla extract
- 100g honeycomb, crushed
Instructions
- Preheat the oven to 160°C (320°F).
- Crush the digestive biscuits and mix with melted butter.
- Press the biscuit mixture into the base of a springform pan.
- In a bowl, beat the cream cheese and sugar until smooth.
- Add the eggs one at a time, mixing well after each addition.
- Stir in the sour cream and vanilla extract.
- Fold in the crushed honeycomb.
- Pour the cheesecake mixture over the biscuit base.
- Bake for 50-60 minutes until set but slightly wobbly in the center.
- Let it cool, then refrigerate for at least 4 hours before serving.
Notes
- For a richer flavor, use full-fat cream cheese.
- Make sure to let the cheesecake cool completely before refrigerating.
- Top with additional crushed honeycomb before serving for extra crunch.
- Prep Time: 20 minutes
- Cook Time: 60 minutes
- Category: Dessert
- Method: Baking
- Cuisine: American
Nutrition
- Serving Size: 1 slice
- Calories: 350
- Sugar: 25g
- Sodium: 200mg
- Fat: 22g
- Saturated Fat: 12g
- Unsaturated Fat: 8g
- Trans Fat: 0g
- Carbohydrates: 30g
- Fiber: 1g
- Protein: 5g
- Cholesterol: 80mg
Keywords: Honeycomb Cheesecake, dessert, cheesecake, sweet treat


