Introduction to Lemon Bars
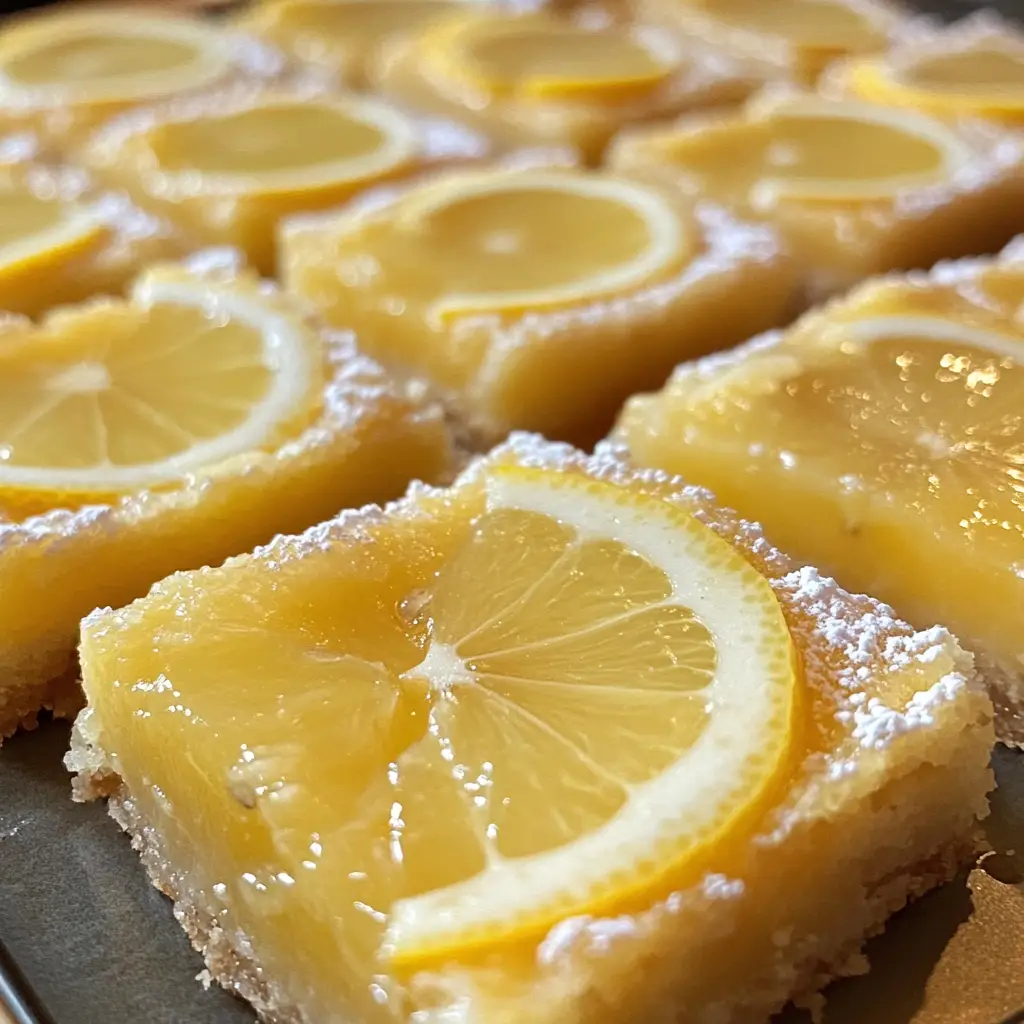
Ah, Lemon Bars! These delightful treats are like sunshine on a plate. I remember the first time I made them; the tangy aroma filled my kitchen, instantly lifting my spirits. If you’re a busy mom or a professional juggling a million tasks, this recipe is your secret weapon. It’s quick, easy, and perfect for impressing your loved ones. Whether it’s a last-minute dessert for a gathering or a sweet pick-me-up after a long day, Lemon Bars are here to brighten your day. Trust me, once you try them, you’ll be hooked!
Why You’ll Love This Lemon Bars
These Lemon Bars are a game-changer for anyone short on time but big on flavor. They come together in just about 50 minutes, making them a perfect last-minute dessert. The buttery crust pairs beautifully with the zesty filling, creating a delightful balance of sweet and tart. Plus, they’re a hit with both kids and adults, ensuring smiles all around. Who doesn’t love a treat that’s as easy to make as it is delicious?
Ingredients for Lemon Bars
Let’s gather our ingredients for these zesty Lemon Bars! Each component plays a vital role in creating that perfect balance of flavors. Here’s what you’ll need:
- All-purpose flour: This is the backbone of our buttery crust, providing structure and a tender bite.
- Unsalted butter: Softened butter adds richness and flavor to the crust. Make sure it’s at room temperature for easy mixing.
- Powdered sugar: This sweetener gives the crust a delicate sweetness and a melt-in-your-mouth texture.
- Granulated sugar: Used in the lemon filling, it balances the tartness of the lemons beautifully.
- Large eggs: Eggs help bind the filling together, giving it that luscious, creamy consistency.
- Fresh lemon juice: The star of the show! Fresh juice brings that vibrant tartness that makes these bars irresistible.
- Lemon zest: A sprinkle of zest enhances the lemon flavor, adding a fragrant aroma and a burst of citrusy goodness.
- Baking powder: This little leavening agent helps the filling rise slightly, creating a light texture.
- Pinch of salt: Just a touch of salt elevates the flavors, balancing the sweetness and tartness.
For those looking to experiment, consider adding more lemon zest for an extra zing or swapping in a gluten-free flour blend for a gluten-free version. You can find the exact quantities for each ingredient at the bottom of the article, ready for printing!
How to Make Lemon Bars
Now that we have our ingredients ready, let’s dive into the fun part—making these delicious Lemon Bars! Follow these simple steps, and you’ll be enjoying a sweet, tangy treat in no time.
Step 1: Preheat the Oven
First things first, preheat your oven to 350°F (175°C). Preheating is crucial because it ensures even baking. If you skip this step, your Lemon Bars might not set properly. Trust me, you want that perfect texture!
Step 2: Prepare the Crust
In a mixing bowl, combine the all-purpose flour, softened butter, and powdered sugar. Use a fork or your fingers to mix until the texture resembles coarse crumbs. You’re aiming for a sandy consistency that holds together when pressed. This buttery crust is the foundation of your Lemon Bars, so make sure it’s well combined!
Step 3: Bake the Crust
Next, press the crust mixture into the bottom of a greased 8×8 inch baking dish. Make sure it’s evenly spread out. Bake it in the preheated oven for about 15 minutes, or until it’s lightly golden. Keep an eye on it; you want it just right, not too dark!
Step 4: Make the Lemon Filling
While the crust is baking, let’s whip up the lemon filling. In another bowl, whisk together the granulated sugar, eggs, fresh lemon juice, lemon zest, baking powder, and a pinch of salt. Whisk until everything is well combined and smooth. The mixture should be slightly frothy, which means you’re on the right track!
Step 5: Combine and Bake
Once the crust is done, carefully pour the lemon filling over it. Spread it evenly with a spatula. Bake the whole dish for an additional 20-25 minutes. You’ll know it’s ready when the filling is set and slightly firm to the touch. A little jiggle is okay, but it shouldn’t be liquidy!
Step 6: Cool and Slice
After baking, remove the dish from the oven and let it cool completely. This is important for the bars to set properly. Once cooled, slice them into squares or rectangles. For a lovely touch, dust the tops with powdered sugar before serving. Enjoy your homemade Lemon Bars!
Tips for Success
- Use fresh lemons for the best flavor; bottled juice just doesn’t compare.
- Let the bars cool completely before slicing to avoid a messy cut.
- For a stronger lemon flavor, add an extra teaspoon of lemon zest.
- Store leftovers in the fridge for a refreshing treat throughout the week.
- Dust with powdered sugar just before serving for a beautiful presentation.

Equipment Needed
- 8×8 inch baking dish: A square pan is ideal, but a round one works too.
- Mixing bowls: Use any size you have on hand; just make sure they’re sturdy.
- Whisk: A fork can substitute if you don’t have a whisk.
- Spatula: A rubber spatula is perfect for spreading the filling.
- Measuring cups and spoons: Essential for accuracy, but eyeballing can work in a pinch!
Variations of Lemon Bars
- Blueberry Lemon Bars: Add fresh or frozen blueberries to the lemon filling for a fruity twist that pairs beautifully with the tartness.
- Lavender Lemon Bars: Infuse the filling with culinary lavender for a fragrant, floral note that elevates the classic flavor.
- Gluten-Free Lemon Bars: Substitute all-purpose flour with a gluten-free blend to make these bars suitable for gluten-sensitive friends.
- Vegan Lemon Bars: Replace eggs with flaxseed meal mixed with water and use coconut oil instead of butter for a plant-based version.
- Chocolate Drizzle: Once cooled, drizzle melted dark chocolate over the bars for a decadent touch that complements the lemon.
Serving Suggestions for Lemon Bars
- Pair with a dollop of whipped cream for a creamy contrast to the tartness.
- Serve alongside fresh berries for a colorful and refreshing plate.
- Enjoy with a cup of herbal tea or iced lemonade for a delightful afternoon treat.
- Garnish with mint leaves for a pop of color and freshness.
- Present on a beautiful platter, dusted with powdered sugar for an elegant touch.
FAQs about Lemon Bars
Can I use bottled lemon juice instead of fresh?
While bottled lemon juice is convenient, I highly recommend using fresh lemon juice for the best flavor. The vibrant tartness of fresh lemons truly makes these Lemon Bars shine!
How do I store leftover Lemon Bars?
Store your Lemon Bars in an airtight container in the refrigerator. They’ll stay fresh for up to a week. Enjoy them chilled for a refreshing treat!
Can I freeze Lemon Bars?
Absolutely! Lemon Bars freeze well. Just wrap them tightly in plastic wrap and place them in a freezer-safe container. They can last up to three months in the freezer. Thaw them in the fridge before serving.
What can I do if my Lemon Bars are too tart?
If you find your Lemon Bars too tart, you can balance the flavor by adding a bit more powdered sugar to the filling next time. A sprinkle of powdered sugar on top before serving can also help!
Can I make Lemon Bars ahead of time?
Yes! Lemon Bars are perfect for making ahead. Just bake them a day or two in advance, let them cool, and store them in the fridge until you’re ready to serve. They taste even better after chilling!
Final Thoughts
Making Lemon Bars is more than just baking; it’s about creating sweet memories in your kitchen. The joy of slicing into those perfectly set bars, revealing that vibrant lemon filling, is simply unmatched. Each bite offers a delightful balance of tart and sweet, making them a favorite for any occasion. Whether you’re sharing them with family or enjoying a quiet moment to yourself, these treats bring a little sunshine to your day. So, roll up your sleeves, embrace the zesty goodness, and let these Lemon Bars become a cherished part of your dessert repertoire!
Print
Lemon Bars: Discover the Secret to Perfectly Tart Treats!
- Total Time: 50 minutes
- Yield: 16 bars 1x
- Diet: Vegetarian
Description
Lemon Bars are a delightful dessert featuring a tangy lemon filling on a buttery shortbread crust, perfect for any occasion.
Ingredients
- 1 cup all-purpose flour
- 1/2 cup unsalted butter, softened
- 1/4 cup powdered sugar
- 1/2 cup granulated sugar
- 2 large eggs
- 1/4 cup fresh lemon juice
- 1 teaspoon lemon zest
- 1/2 teaspoon baking powder
- Pinch of salt
Instructions
- Preheat the oven to 350°F (175°C).
- In a mixing bowl, combine flour, butter, and powdered sugar to form the crust.
- Press the mixture into the bottom of a greased 8×8 inch baking dish.
- Bake the crust for 15 minutes until lightly golden.
- In another bowl, whisk together granulated sugar, eggs, lemon juice, lemon zest, baking powder, and salt.
- Pour the lemon mixture over the baked crust.
- Bake for an additional 20-25 minutes until set.
- Allow to cool before slicing into bars.
- Dust with powdered sugar before serving, if desired.
Notes
- For a stronger lemon flavor, add more lemon zest.
- These bars can be stored in the refrigerator for up to a week.
- Serve chilled for a refreshing treat.
- Prep Time: 15 minutes
- Cook Time: 35 minutes
- Category: Dessert
- Method: Baking
- Cuisine: American
Nutrition
- Serving Size: 1 bar
- Calories: 150
- Sugar: 10g
- Sodium: 50mg
- Fat: 7g
- Saturated Fat: 4g
- Unsaturated Fat: 2g
- Trans Fat: 0g
- Carbohydrates: 20g
- Fiber: 0g
- Protein: 2g
- Cholesterol: 30mg
Keywords: Lemon Bars, Dessert, Tart Treats, Baking


