Introduction to Red Velvet Truffles
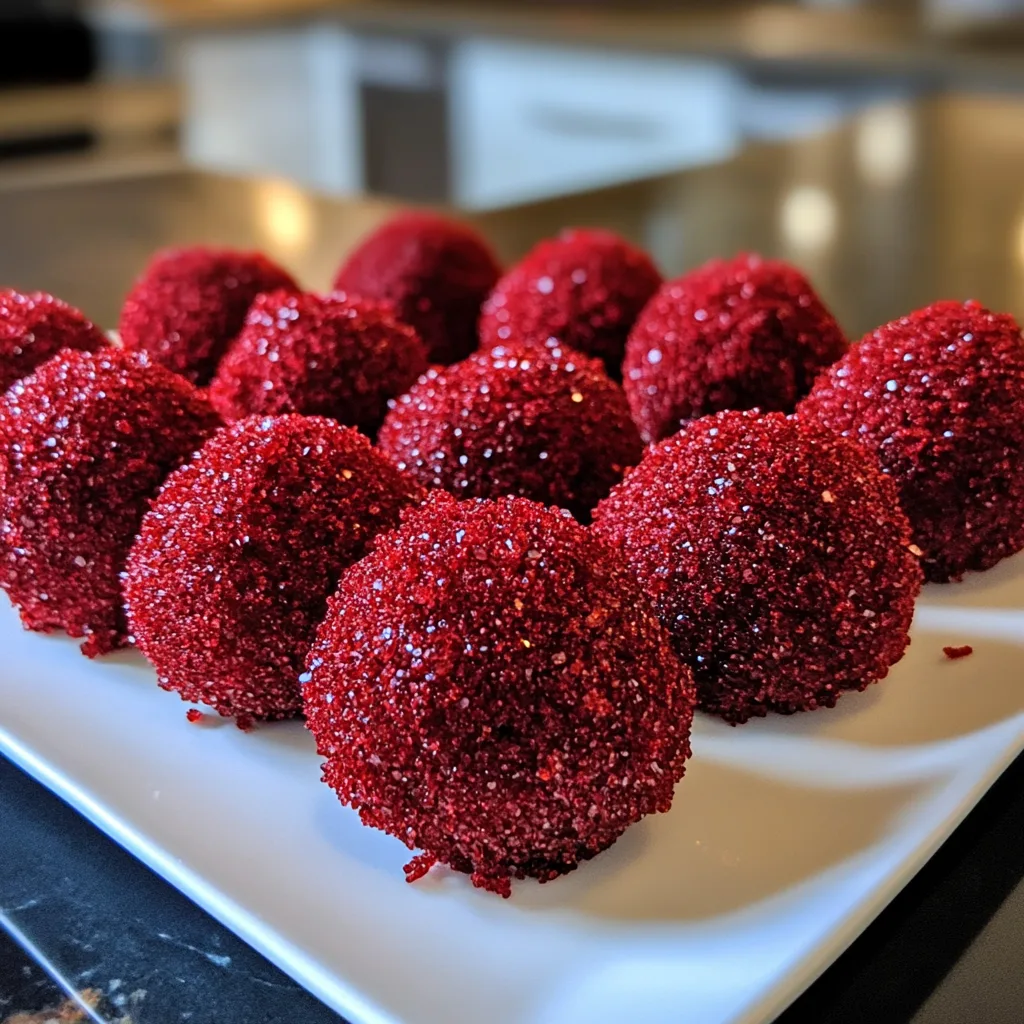
As a busy mom, I know how precious time can be, especially when it comes to whipping up something special in the kitchen. That’s why I absolutely adore these Red Velvet Truffles! They’re not just a treat; they’re a delightful way to bring a little joy to your day. Imagine rich, velvety bites coated in creamy white chocolate, perfect for any occasion. Whether you’re celebrating a birthday, hosting a gathering, or simply indulging yourself, these truffles are a quick solution that will impress your loved ones and satisfy your sweet tooth.
Why You’ll Love This Red Velvet Truffles
These Red Velvet Truffles are a dream come true for anyone short on time but big on flavor. They’re incredibly easy to make, requiring no baking at all! In just under an hour, you can create a decadent dessert that looks as good as it tastes. Plus, the combination of rich red velvet and creamy white chocolate is simply irresistible. Trust me, these truffles will become your go-to treat for any occasion!
Ingredients for Red Velvet Truffles
Gathering the right ingredients is the first step to creating these delightful Red Velvet Truffles. Here’s what you’ll need:
- Red Velvet Cake Crumbs: The star of the show! You can use leftover cake or bake a fresh one. The rich flavor and vibrant color are what make these truffles so special.
- Cream Cheese Frosting: This adds a luscious creaminess that perfectly complements the cake crumbs. You can make your own or use store-bought for convenience.
- White Chocolate: Melted white chocolate coats the truffles, giving them a sweet, creamy finish. If you prefer a deeper flavor, dark chocolate is a fantastic substitute.
- Cocoa Powder: A light dusting of cocoa powder adds a touch of elegance and a hint of bitterness to balance the sweetness. It’s optional but highly recommended!
For those who want to get creative, feel free to add sprinkles or crushed nuts for decoration. You can find all the exact measurements at the bottom of the article, ready for printing. Happy cooking!
How to Make Red Velvet Truffles
Now that you have your ingredients ready, let’s dive into the fun part—making these delightful Red Velvet Truffles! Follow these simple steps, and you’ll have a batch of sweet treats in no time.
Step 1: Mix the Cake Crumbs and Frosting
Start by placing your red velvet cake crumbs in a mixing bowl. Add the cream cheese frosting to the crumbs. Using a spatula or your hands, mix them together until they’re well blended. You want a smooth, cohesive mixture that holds together nicely. It should feel like a soft dough, perfect for rolling!
Step 2: Form the Truffles
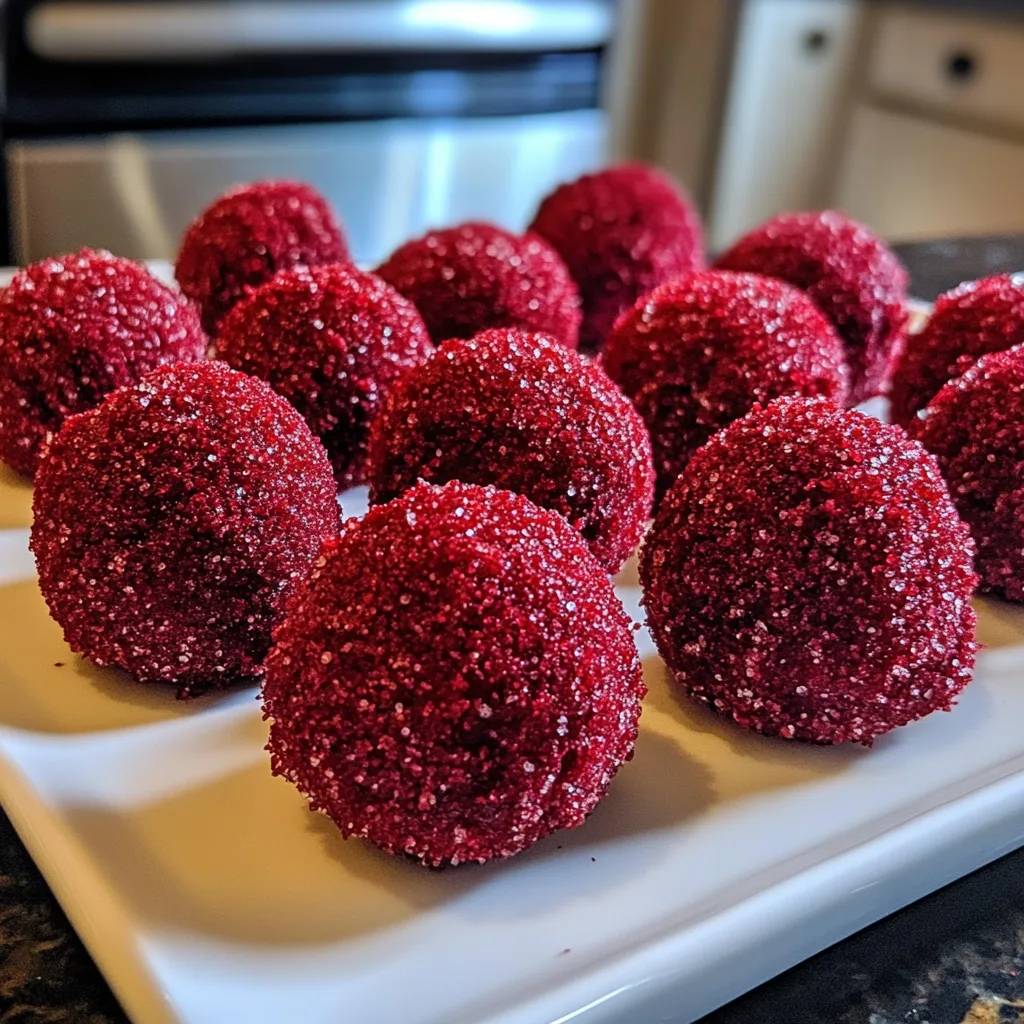
Once your mixture is ready, it’s time to roll! Take small portions of the mixture and roll them into balls, about one inch in diameter. Place each ball on a baking sheet lined with parchment paper. This step is where the magic happens, so don’t rush—make sure they’re nice and round!
Step 3: Chill the Truffles
Now, let’s give those truffles a little chill time. Pop the baking sheet into the refrigerator for about 30 minutes. Chilling helps the truffles firm up, making them easier to dip in chocolate later. Plus, it enhances the flavors, making each bite even more delicious!
Step 4: Dip in White Chocolate
After chilling, it’s time for the fun part—dipping! Melt your white chocolate in a microwave-safe bowl, stirring every 30 seconds until smooth. Take each chilled truffle and dip it into the melted chocolate, ensuring it’s fully coated. Use a fork to lift it out, letting any excess chocolate drip off before placing it back on the baking sheet.
Step 5: Add Cocoa Powder
Once all the truffles are coated, sprinkle a light dusting of cocoa powder over them while the chocolate is still wet. This adds a lovely touch and balances the sweetness. If you’re feeling fancy, you can also add sprinkles or crushed nuts for extra flair!
Step 6: Final Chill
It’s almost time to enjoy your creations! Place the baking sheet back in the refrigerator and let the truffles chill again until the chocolate hardens. This usually takes about 15-20 minutes. Patience is key here, but trust me, it’s worth the wait!
Step 7: Serve and Enjoy
Once the chocolate is set, your Red Velvet Truffles are ready to shine! Serve them chilled for the best flavor and texture. Whether you’re sharing with friends or indulging solo, these truffles are sure to bring a smile to your face. Enjoy every decadent bite!
Tips for Success
- Use room temperature cream cheese for easier mixing.
- Don’t skip the chilling steps; they help the truffles hold their shape.
- For a smoother chocolate coating, ensure the chocolate is fully melted and not too hot.
- Experiment with different toppings like crushed cookies or colored sprinkles for a festive touch.
- Store truffles in an airtight container to keep them fresh and delicious!
Equipment Needed
- Mixing Bowl: A large bowl for combining ingredients. A sturdy plate can work in a pinch.
- Spatula: For mixing and scooping. A wooden spoon is a great alternative.
- Baking Sheet: To hold the truffles. Any flat surface will do.
- Parchment Paper: For easy cleanup. Aluminum foil can be used instead.
- Microwave-Safe Bowl: For melting chocolate. A small saucepan works too!
Variations of Red Velvet Truffles
- Dark Chocolate Coating: Swap the white chocolate for dark chocolate for a richer flavor that pairs beautifully with the red velvet.
- Nutty Delight: Add crushed walnuts or pecans to the mixture for a delightful crunch and added texture.
- Gluten-Free Option: Use gluten-free red velvet cake mix to make these truffles suitable for those with gluten sensitivities.
- Vegan Version: Substitute the cream cheese frosting with a vegan alternative and use dairy-free chocolate for a plant-based treat.
- Minty Fresh: Add a few drops of peppermint extract to the mixture for a refreshing twist that’s perfect for the holidays.
Serving Suggestions for Red Velvet Truffles
- Pair with a glass of cold milk or a warm cup of coffee for a delightful contrast.
- Serve on a decorative platter, garnished with fresh berries for a pop of color.
- For a festive touch, arrange truffles in a mason jar tied with a ribbon as a charming gift.
- Dust with extra cocoa powder or edible glitter for an elegant presentation.
FAQs about Red Velvet Truffles
Can I use store-bought red velvet cake for these truffles?
Absolutely! Using store-bought red velvet cake can save you time and still yield delicious results. Just crumble it up and mix with the cream cheese frosting as directed.
How long do Red Velvet Truffles last?
These truffles can be stored in an airtight container in the refrigerator for up to a week. Just make sure they’re well-covered to keep them fresh!
Can I freeze Red Velvet Truffles?
Yes, you can freeze them! Just place the truffles in a single layer on a baking sheet until frozen, then transfer them to an airtight container. They’ll keep for about a month in the freezer.
What can I use instead of cream cheese frosting?
If you’re not a fan of cream cheese frosting, you can use buttercream or even a chocolate ganache for a different flavor profile. Just ensure it’s thick enough to hold the truffles together.
Are these truffles suitable for special diets?
Yes! You can easily adapt these Red Velvet Truffles to fit various dietary needs. Use gluten-free cake mix for gluten sensitivities or vegan frosting and chocolate for a plant-based treat.
Final Thoughts
Making Red Velvet Truffles is more than just a cooking project; it’s a delightful experience that brings joy to both the maker and the eater. Each bite is a celebration of rich flavors and creamy textures, perfect for sharing with family or enjoying during a quiet moment to yourself. I love how these truffles can turn an ordinary day into something special, whether it’s a birthday, holiday, or just because. So, roll up your sleeves, gather your ingredients, and let the magic of these truffles brighten your day. You deserve it!
Print
Red Velvet Truffles: Discover the Ultimate Recipe Today!
- Total Time: 50 minutes
- Yield: 24 truffles 1x
- Diet: Vegetarian
Description
Deliciously rich and decadent red velvet truffles coated in white chocolate, perfect for any occasion.
Ingredients
- 1 cup red velvet cake crumbs
- 1/2 cup cream cheese frosting
- 8 oz white chocolate, melted
- 1/4 cup cocoa powder (for dusting)
Instructions
- In a bowl, mix red velvet cake crumbs with cream cheese frosting until well combined.
- Roll the mixture into small balls and place them on a baking sheet lined with parchment paper.
- Chill the truffles in the refrigerator for about 30 minutes.
- Dip each truffle in melted white chocolate, ensuring they are fully coated.
- Place the coated truffles back on the baking sheet and sprinkle with cocoa powder.
- Refrigerate again until the chocolate hardens.
- Serve chilled and enjoy!
Notes
- For a richer flavor, use dark chocolate instead of white chocolate.
- Store truffles in an airtight container in the refrigerator for up to a week.
- Feel free to add sprinkles or crushed nuts for decoration.
- Prep Time: 20 minutes
- Cook Time: 0 minutes
- Category: Dessert
- Method: No-Bake
- Cuisine: American
Nutrition
- Serving Size: 1 truffle
- Calories: 120
- Sugar: 10g
- Sodium: 30mg
- Fat: 7g
- Saturated Fat: 4g
- Unsaturated Fat: 2g
- Trans Fat: 0g
- Carbohydrates: 12g
- Fiber: 0g
- Protein: 1g
- Cholesterol: 10mg
Keywords: Red Velvet Truffles, Dessert, No-Bake Treats


