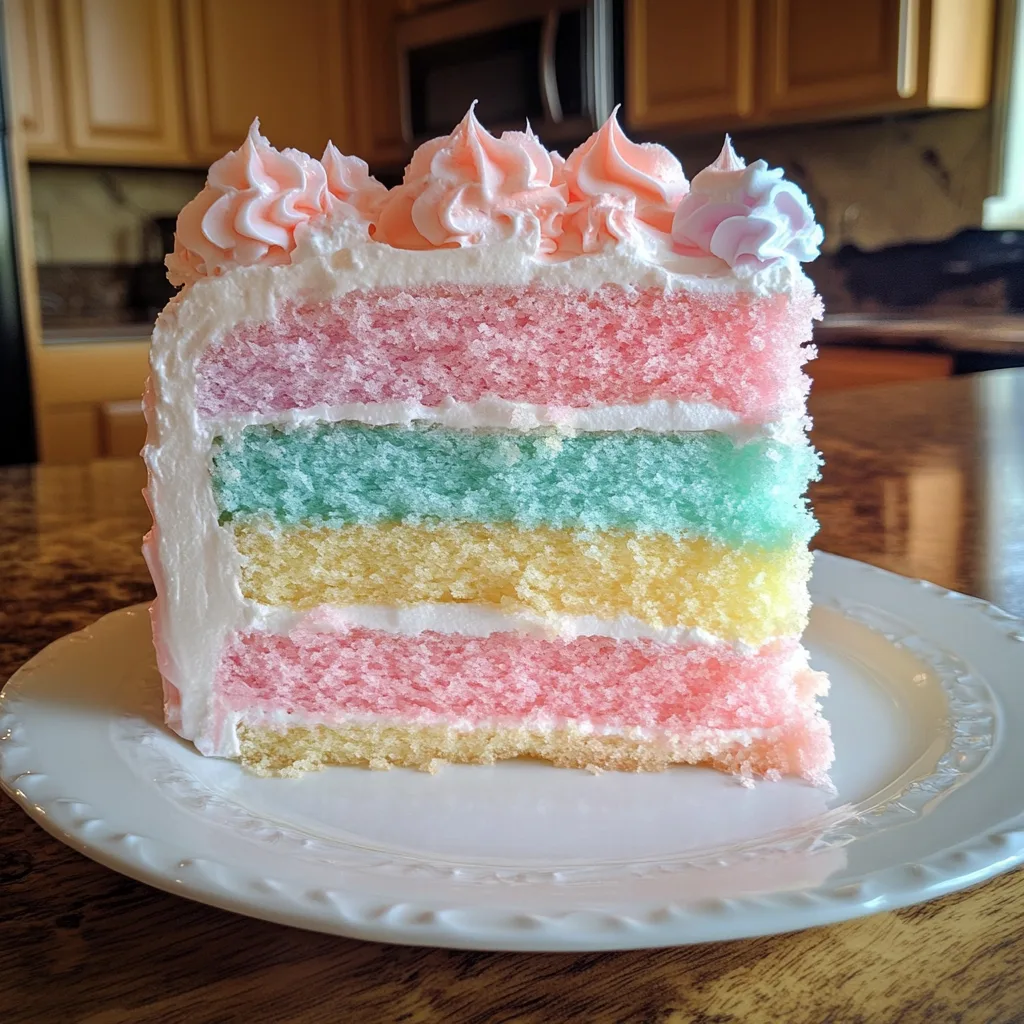
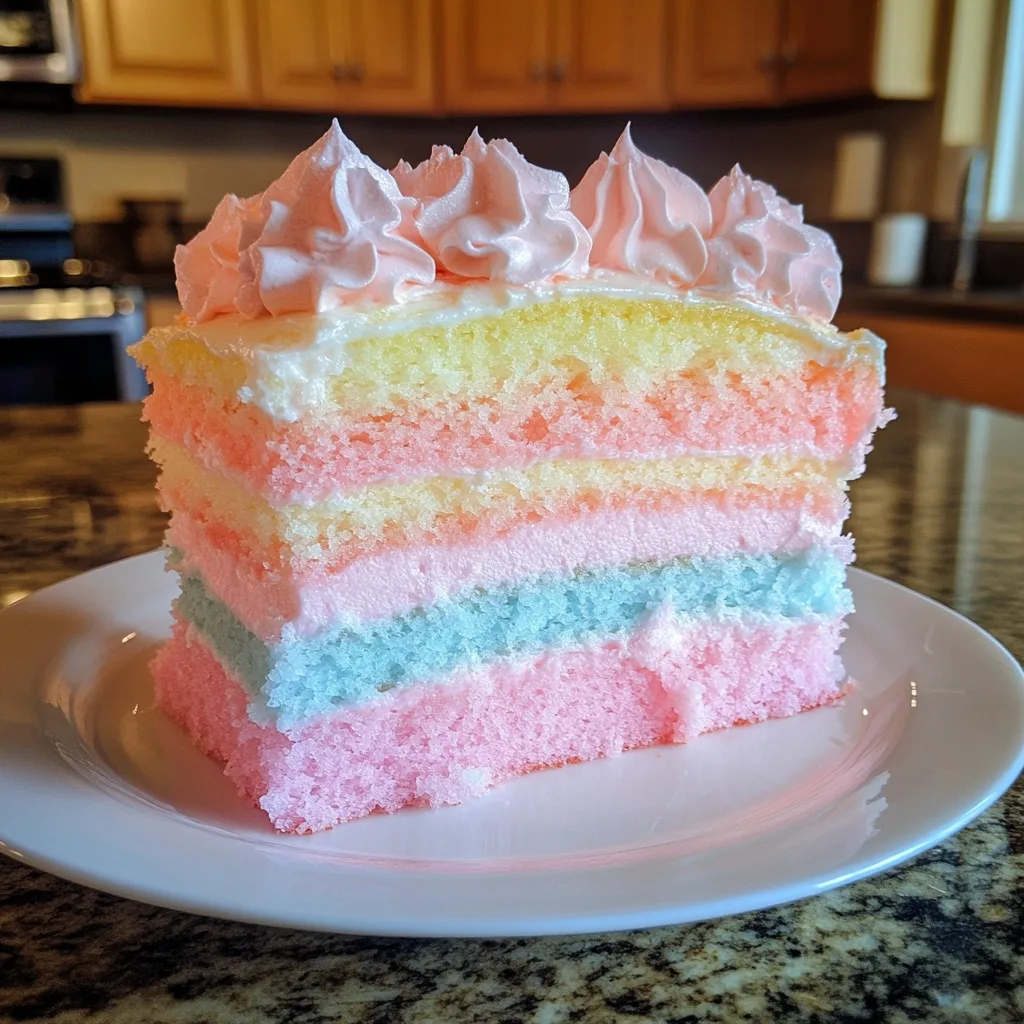
Introduction to Cotton Candy Cake
Welcome to the whimsical world of Cotton Candy Cake! If you’re like me, juggling a busy life while trying to whip up something special for your loved ones can feel overwhelming. This delightful cake captures the essence of childhood nostalgia, bringing a sweet smile to everyone’s face. It’s not just a dessert; it’s a fun experience that transforms any gathering into a celebration. Whether it’s a birthday party or a simple family dinner, this cake is a quick solution that will impress without the fuss. Let’s dive into this sugary adventure together!
Why You’ll Love This Cotton Candy Cake
This Cotton Candy Cake is a dream come true for busy moms and professionals alike. It’s incredibly easy to make, requiring just a handful of ingredients and minimal prep time. The taste? Oh, it’s like a carnival in your mouth! With its fluffy texture and sweet cotton candy flavor, it’s sure to delight both kids and adults. Plus, it’s visually stunning, making it a showstopper for any occasion!
Ingredients for Cotton Candy Cake
Let’s gather our magical ingredients for this Cotton Candy Cake! Each one plays a vital role in creating that delightful flavor and whimsical appearance.
- All-purpose flour: This is the backbone of our cake, providing structure and a soft crumb.
- Granulated sugar: Sweetness is key! It not only sweetens the cake but also helps create a tender texture.
- Unsalted butter: Softened butter adds richness and moisture, making every bite melt in your mouth.
- Milk: This ingredient keeps the cake moist and adds a lovely creaminess to the batter.
- Large eggs: Eggs bind everything together and contribute to the cake’s fluffiness.
- Baking powder: This leavening agent helps the cake rise, giving it that light and airy feel.
- Vanilla extract: A splash of vanilla enhances the overall flavor, making it even more delightful.
- Cotton candy: The star of the show! Torn into pieces, it infuses the cake with that nostalgic sweetness.
- Pink food coloring: Optional, but it adds a fun pop of color, making the cake even more visually appealing.
- Buttercream frosting: This creamy topping is perfect for adding sweetness and a beautiful finish.
- Extra cotton candy: For decoration, it adds a whimsical touch that will wow your guests!
For exact measurements, check the bottom of the article where you can find everything listed for easy printing. Now, let’s get ready to bake this enchanting cake!
How to Make Cotton Candy Cake
Step 1: Preheat and Prepare
First things first, let’s get that oven preheating to 350°F (175°C). This step is crucial for ensuring your Cotton Candy Cake bakes evenly. While the oven warms up, grab two 9-inch round cake pans and grease them well. You can use butter or non-stick spray for this. I like to line the bottoms with parchment paper for easy removal later. Trust me, there’s nothing worse than a cake that sticks! Once your pans are ready, you’re all set to start mixing.
Step 2: Cream Butter and Sugar
Now, let’s cream together the softened butter and granulated sugar. In a large mixing bowl, beat them until the mixture is light and fluffy. This process is essential because it incorporates air into the batter, giving your cake that delightful rise. I usually use an electric mixer for this, but a good old-fashioned whisk works too—just be prepared for a workout! Aim for a pale, creamy texture, which usually takes about 3-5 minutes. This is where the magic begins!
Step 3: Add Eggs and Wet Ingredients
Next, it’s time to add the eggs, one at a time. Make sure to mix well after each addition. This helps to create a smooth batter. After the eggs are in, pour in the milk and vanilla extract. The milk adds moisture, while the vanilla enhances the flavor. I love the aroma that fills my kitchen at this point! Mix everything until well combined, but don’t overdo it. We want a lovely, smooth batter without lumps.
Step 4: Combine Dry Ingredients
In a separate bowl, whisk together the all-purpose flour and baking powder. This step is crucial because it ensures that the baking powder is evenly distributed throughout the flour. If you skip this, you might end up with uneven rising. Gradually add this dry mixture to your wet ingredients, mixing gently. I like to do this in batches to avoid flour clouds in my kitchen! Just fold until everything is combined; overmixing can lead to a dense cake.
Step 5: Fold in Cotton Candy
Now comes the fun part—folding in the cotton candy! Gently add the torn pieces into the batter, making sure they’re evenly distributed. This is where the cake gets its signature flavor. If you want to add a pop of color, now’s the time to mix in a few drops of pink food coloring. Just remember, a little goes a long way! The batter should look whimsical and inviting, just like the cotton candy we all love.
Step 6: Bake the Cakes
Divide the batter evenly between the prepared cake pans. Pop them into your preheated oven and bake for 25-30 minutes. To check for doneness, insert a toothpick into the center of the cakes. If it comes out clean, they’re ready! If not, give them a few more minutes. The aroma wafting through your kitchen will be heavenly, and you’ll be counting down the minutes until you can dig in!
Step 7: Cool and Frost
Once your cakes are baked to perfection, let them cool in the pans for about 10 minutes. This makes them easier to handle. After that, transfer them to wire racks to cool completely. Patience is key here! Once cooled, it’s time to frost with your favorite buttercream frosting. I love to slather it on generously, making sure to cover every inch. For the final touch, top with extra cotton candy for that whimsical flair. Your Cotton Candy Cake is now ready to dazzle!
Tips for Success
- Always measure your ingredients accurately for the best results.
- Use room temperature eggs and butter for easier mixing.
- Don’t skip the cooling step; it helps the frosting set better.
- For a fun twist, try different flavored cotton candy!
- Keep an eye on the baking time; ovens can vary.
- Store leftovers in an airtight container to maintain freshness.
Equipment Needed
- Mixing bowls: A set of various sizes is handy; you can also use any large bowl you have.
- Electric mixer: Ideal for creaming butter and sugar, but a whisk works just as well.
- Measuring cups and spoons: Essential for accuracy; you can use a kitchen scale if preferred.
- 9-inch round cake pans: If you don’t have these, any similar-sized pans will do.
- Wire racks: Great for cooling; a plate can work in a pinch.
Variations
- Chocolate Cotton Candy Cake: Add cocoa powder to the batter for a chocolate twist that pairs beautifully with the cotton candy flavor.
- Gluten-Free Option: Substitute all-purpose flour with a gluten-free blend to make this cake suitable for those with gluten sensitivities.
- Vegan Cotton Candy Cake: Replace eggs with flaxseed meal and use plant-based milk and butter for a delicious vegan version.
- Different Flavors of Cotton Candy: Experiment with flavored cotton candy, like strawberry or blue raspberry, to create unique taste profiles.
- Layered Cotton Candy Cake: Bake additional layers and alternate flavors or colors for a stunning multi-layered cake.
Serving Suggestions
- Pair your Cotton Candy Cake with a scoop of vanilla ice cream for a delightful contrast.
- Serve with fresh berries to add a touch of tartness that balances the sweetness.
- For drinks, consider a sparkling lemonade or fruity punch to keep the festive vibe.
- Present the cake on a colorful cake stand for an eye-catching display.
FAQs about Cotton Candy Cake
Can I make Cotton Candy Cake ahead of time?
Absolutely! You can bake the cakes a day in advance. Just make sure to wrap them tightly in plastic wrap once they’re completely cooled. This keeps them fresh and moist until you’re ready to frost and serve.
What type of cotton candy should I use?
You can use any flavor of cotton candy you like! Classic pink or blue cotton candy works beautifully, but feel free to experiment with other flavors for a unique twist. Just remember, the flavor will influence the overall taste of your cake.
How should I store leftovers?
To keep your Cotton Candy Cake fresh, store it in an airtight container at room temperature. If you have leftover cotton candy on top, it’s best to remove it before storing, as it can become sticky. Add fresh cotton candy just before serving!
Can I use a different frosting?
Of course! While buttercream is a classic choice, you can use cream cheese frosting or whipped cream for a lighter option. Just make sure the frosting complements the sweet flavor of the cake.
Is this cake suitable for kids?
Definitely! This Cotton Candy Cake is a hit with kids and adults alike. Its fun flavor and colorful appearance make it perfect for birthday parties or any festive occasion. Just be prepared for the sugar rush!
Final Thoughts
Creating this Cotton Candy Cake is more than just baking; it’s about crafting sweet memories. The joy on your loved ones’ faces as they take that first bite is priceless. This cake brings a touch of whimsy to any occasion, making it perfect for celebrations or just a fun family dessert night. Plus, it’s a fantastic way to involve your kids in the kitchen, sparking their creativity. So, roll up your sleeves, embrace the mess, and let the magic of cotton candy fill your home with laughter and love. Happy baking!
Print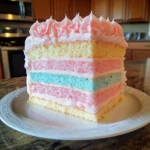
“Cotton Candy Cake: Discover the Sweetest Recipe Today!”
- Total Time: 50 minutes
- Yield: 12 servings 1x
- Diet: Vegetarian
Description
A delightful and whimsical cake that captures the essence of cotton candy in both flavor and appearance.
Ingredients
- 2 cups all-purpose flour
- 1 ½ cups granulated sugar
- ½ cup unsalted butter, softened
- 1 cup milk
- 3 large eggs
- 1 tablespoon baking powder
- 1 teaspoon vanilla extract
- 1 cup cotton candy, torn into pieces
- Pink food coloring (optional)
- Buttercream frosting
- Extra cotton candy for decoration
Instructions
- Preheat the oven to 350°F (175°C) and grease two 9-inch round cake pans.
- In a large bowl, cream together the butter and sugar until light and fluffy.
- Add the eggs one at a time, mixing well after each addition.
- Stir in the milk and vanilla extract.
- In a separate bowl, combine the flour and baking powder, then gradually add to the wet ingredients.
- Fold in the cotton candy pieces and pink food coloring if desired.
- Divide the batter evenly between the prepared cake pans.
- Bake for 25-30 minutes or until a toothpick inserted in the center comes out clean.
- Allow the cakes to cool in the pans for 10 minutes, then transfer to wire racks to cool completely.
- Once cooled, frost with buttercream frosting and top with extra cotton candy for decoration.
Notes
- For a stronger cotton candy flavor, consider adding cotton candy extract to the batter.
- This cake is perfect for birthday parties or any festive occasion.
- Store leftovers in an airtight container to keep the cotton candy fresh.
- Prep Time: 20 minutes
- Cook Time: 30 minutes
- Category: Dessert
- Method: Baking
- Cuisine: American
Nutrition
- Serving Size: 1 slice
- Calories: 350
- Sugar: 30g
- Sodium: 200mg
- Fat: 15g
- Saturated Fat: 8g
- Unsaturated Fat: 5g
- Trans Fat: 0g
- Carbohydrates: 50g
- Fiber: 1g
- Protein: 4g
- Cholesterol: 70mg
Keywords: Cotton Candy Cake, Sweet Cake Recipe, Fun Dessert