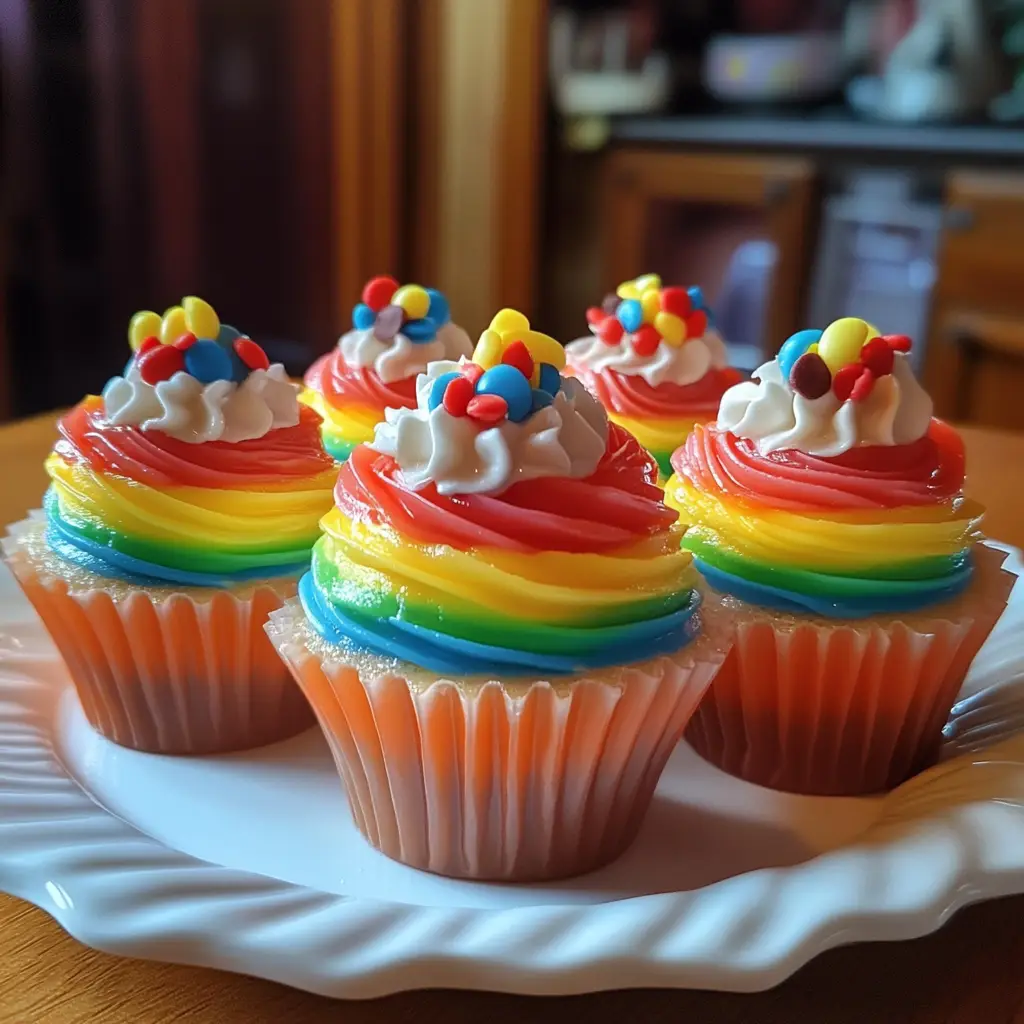
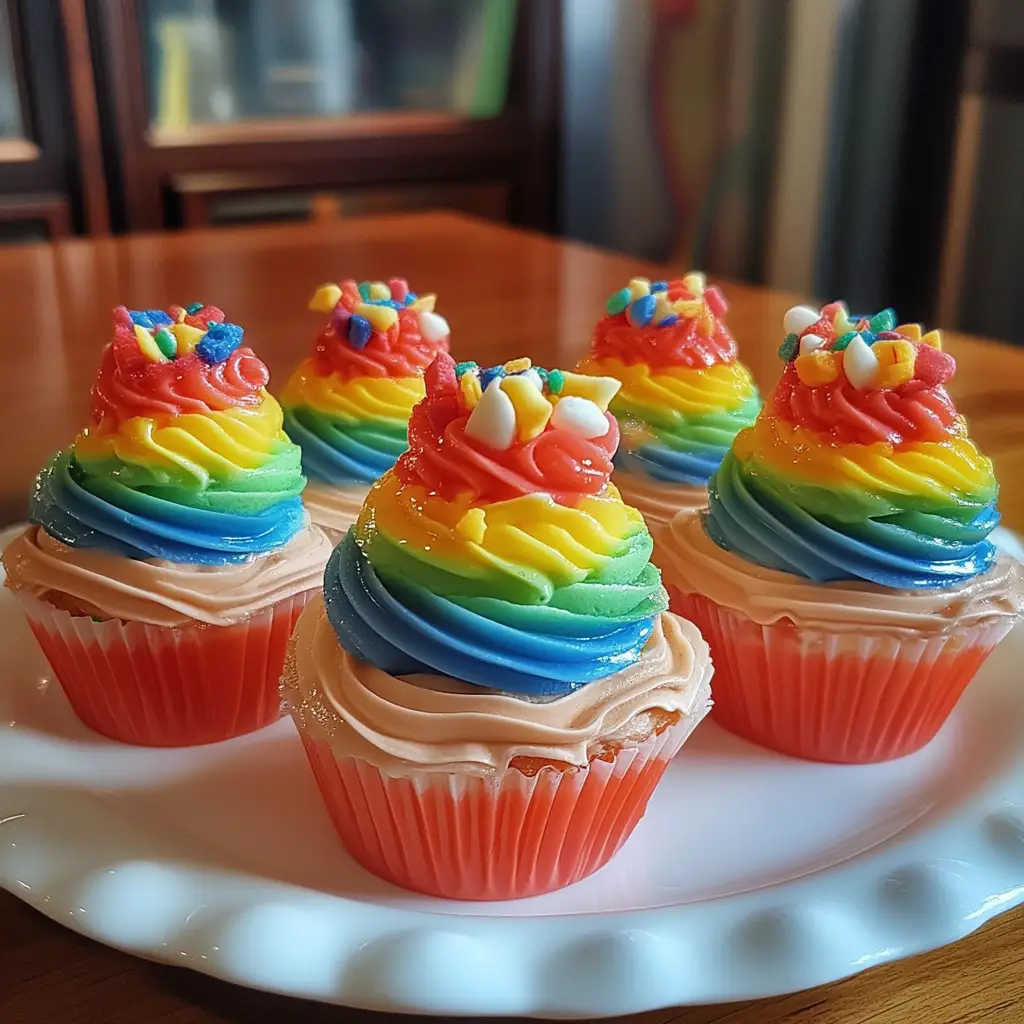
Introduction to Rainbow Layered Mousse Cups
As a busy mom, I know how challenging it can be to whip up something special that delights both the eyes and the taste buds. That’s where these Rainbow Layered Mousse Cups come in! They’re not just a feast for the eyes; they’re a quick and easy solution for those hectic days when you want to impress your loved ones without spending hours in the kitchen. With vibrant colors and luscious flavors, these mousse cups are sure to bring smiles to your family’s faces. Let’s dive into this delightful treat that’s as fun to make as it is to eat!
Why You’ll Love This Rainbow Layered Mousse Cups
These Rainbow Layered Mousse Cups are a dream come true for busy moms like us! They’re incredibly easy to make, requiring no baking at all. In just 30 minutes, you can create a stunning dessert that looks like a work of art. Plus, the combination of flavors and textures will have everyone asking for seconds. It’s a delightful way to brighten up any meal or celebration!
Ingredients for Rainbow Layered Mousse Cups
Gathering the right ingredients is the first step to creating these beautiful Rainbow Layered Mousse Cups. Here’s what you’ll need:
- Heavy cream: This is the base of your mousse, giving it that rich and creamy texture. You can substitute with Greek yogurt for a lighter option.
- Powdered sugar: This sweetens the mousse and helps achieve that silky smooth consistency. If you prefer less sweetness, feel free to adjust the amount.
- Vanilla extract: A splash of this adds a warm, comforting flavor that complements the fruity layers beautifully.
- Fruit puree: Choose your favorite fruits like strawberry, mango, or blueberry. This is where the magic happens, as each puree brings its unique flavor and color.
- Food coloring: To achieve those vibrant rainbow hues, you’ll need food coloring. You can use gel or liquid, depending on what you have on hand.
- Graham cracker crumbs: These add a delightful crunch at the bottom of your cups. You can also use crushed cookies or even granola for a twist.
For exact measurements, check the bottom of the article where you can find everything listed for easy printing. Now that you have your ingredients ready, let’s get started on this colorful adventure!
How to Make Rainbow Layered Mousse Cups
Now that we have our ingredients ready, let’s dive into the fun part: making these Rainbow Layered Mousse Cups! Follow these simple steps, and you’ll have a colorful dessert that’s sure to impress.
Step 1: Whip the Cream
Start by pouring the heavy cream into a mixing bowl. Using a hand mixer or stand mixer, whip the cream on medium speed. Keep going until soft peaks form. This means the cream should hold its shape but still be a bit wobbly. It’s like creating fluffy clouds!
Step 2: Sweeten and Flavor
Next, add the powdered sugar and vanilla extract to the whipped cream. Continue whipping until stiff peaks form. This is when the cream holds its shape firmly. It should look smooth and glossy, like a beautiful satin finish. Taste it—if you want it sweeter, feel free to add a bit more sugar!
Step 3: Divide and Color
Now, it’s time to divide the whipped cream into separate bowls. Depending on how many colors you want, you can use four to six bowls. Add a few drops of food coloring to each bowl. Mix gently until you achieve vibrant colors. Think of it as painting with deliciousness!
Step 4: Layer the Cups
Grab your serving cups and start layering! Begin with a spoonful of graham cracker crumbs at the bottom. Then, add a layer of the red mousse, followed by orange, yellow, green, blue, and finally purple. Repeat the process until the cups are filled to the top. Each layer should be about an inch thick. It’s like building a colorful tower of joy!
Step 5: Chill and Serve
Once your cups are filled, place them in the refrigerator. Let them chill for at least two hours. This helps the layers set and makes them easier to serve. When you’re ready to enjoy, simply take them out and watch the smiles appear as you serve these delightful Rainbow Layered Mousse Cups!
Tips for Success
- Make sure your heavy cream is cold for better whipping results.
- Use gel food coloring for more vibrant hues without altering the texture.
- Don’t rush the chilling process; it’s key for the mousse to set properly.
- Feel free to mix and match fruit purees for unique flavor combinations.
- For a fun twist, add sprinkles or fresh fruit on top before serving!
Equipment Needed
- Mixing bowls: Any size will do, but a large bowl is best for whipping cream.
- Hand mixer or stand mixer: A whisk works too, but it’ll take longer.
- Spoons: For layering and serving the mousse.
- Serving cups: Clear cups showcase the beautiful layers.
Variations
- For a tropical twist, use coconut cream instead of heavy cream and add pineapple puree.
- Try using flavored yogurt instead of whipped cream for a lighter, tangy option.
- Incorporate chocolate mousse layers for a decadent chocolate rainbow experience.
- For a vegan version, substitute heavy cream with coconut whipped cream and use agave syrup instead of powdered sugar.
- Experiment with different fruit purees like raspberry or kiwi for unique flavor profiles.
Serving Suggestions
- Pair these Rainbow Layered Mousse Cups with a light fruit salad for a refreshing contrast.
- Serve alongside a cup of herbal tea or sparkling water for a delightful drink option.
- Garnish with fresh mint leaves or edible flowers for an elegant touch.
- Consider using clear glass cups to showcase the beautiful layers.
FAQs about Rainbow Layered Mousse Cups
As you embark on your journey to create these delightful Rainbow Layered Mousse Cups, you might have a few questions. Here are some common queries I’ve encountered, along with helpful answers!
Can I make these mousse cups in advance?
Absolutely! These Rainbow Layered Mousse Cups can be made a day ahead. Just keep them covered in the refrigerator until you’re ready to serve. This makes them perfect for parties or family gatherings!
What can I use instead of heavy cream?
If you’re looking for a lighter option, Greek yogurt works wonderfully. It gives a creamy texture while cutting down on calories. You can also try coconut cream for a dairy-free alternative.
How do I store leftovers?
Store any leftover mousse cups in an airtight container in the refrigerator. They should stay fresh for up to three days. Just be sure to enjoy them before they disappear!
Can I use frozen fruit for the puree?
Yes, frozen fruit is a great option! Just thaw and blend it until smooth. This is a fantastic way to enjoy these Rainbow Layered Mousse Cups year-round, regardless of the season.
What if my mousse doesn’t set properly?
If your mousse is too soft, it might need more chilling time. Just pop it back in the fridge for a bit longer. If it’s still not setting, consider adding a bit more whipped cream to stabilize it.
Final Thoughts
Creating these Rainbow Layered Mousse Cups is more than just making a dessert; it’s about bringing joy and color to your table. Each layer tells a story, from the vibrant hues to the delightful flavors that dance on your palate. Whether it’s a family gathering or a simple weeknight treat, these mousse cups are sure to spark smiles and laughter. Plus, they’re a fantastic way to involve your kids in the kitchen, making memories together. So, roll up your sleeves, unleash your inner artist, and enjoy the sweet satisfaction of sharing this colorful creation with your loved ones!
Print
Rainbow Layered Mousse Cups: A Delightful Treat to Try!
- Total Time: 2 hours 30 minutes
- Yield: 4 servings 1x
- Diet: Vegetarian
Description
Rainbow Layered Mousse Cups are a colorful and delightful dessert that combines various flavors and textures in a visually appealing way.
Ingredients
- 1 cup heavy cream
- 1/2 cup powdered sugar
- 1 teaspoon vanilla extract
- 1/2 cup fruit puree (strawberry, mango, blueberry, etc.)
- Food coloring (red, orange, yellow, green, blue, purple)
- Graham cracker crumbs (for layering)
Instructions
- In a mixing bowl, whip the heavy cream until soft peaks form.
- Add powdered sugar and vanilla extract, and continue to whip until stiff peaks form.
- Divide the whipped cream into separate bowls for each color layer.
- Add food coloring to each bowl to create vibrant colors.
- In serving cups, layer the graham cracker crumbs at the bottom.
- Next, add a layer of the colored mousse, starting with the red and working your way to purple.
- Repeat the layering process until the cups are filled.
- Chill in the refrigerator for at least 2 hours before serving.
Notes
- Feel free to use any fruit puree of your choice.
- For a healthier option, consider using Greek yogurt instead of heavy cream.
- These mousse cups can be made a day in advance.
- Prep Time: 30 minutes
- Cook Time: 0 minutes
- Category: Dessert
- Method: No-bake
- Cuisine: American
Nutrition
- Serving Size: 1 cup
- Calories: 250
- Sugar: 20g
- Sodium: 50mg
- Fat: 15g
- Saturated Fat: 10g
- Unsaturated Fat: 5g
- Trans Fat: 0g
- Carbohydrates: 30g
- Fiber: 1g
- Protein: 3g
- Cholesterol: 60mg
Keywords: Rainbow Layered Mousse Cups, colorful dessert, mousse cups, layered dessert