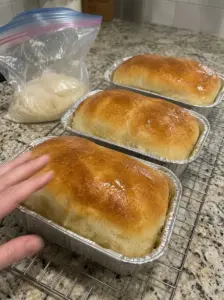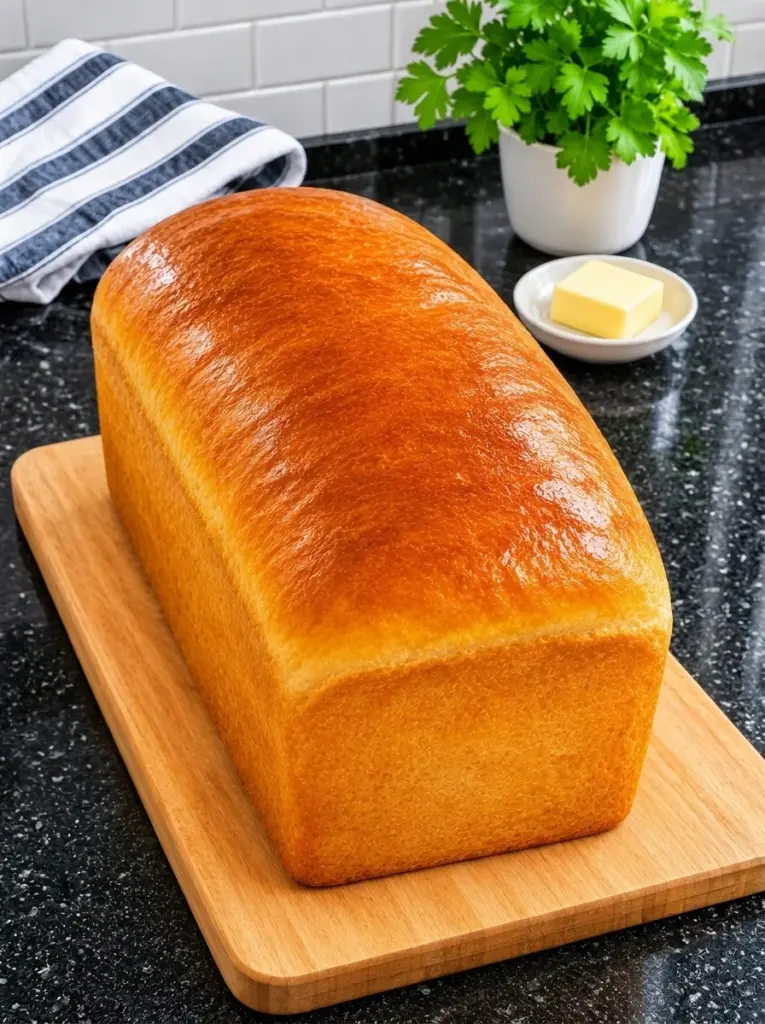
There is something comforting about a freshly baked loaf of white bread. The golden crust, soft center, and warm aroma make even a simple slice with butter feel special. This Easy Homemade White Bread in a Bag gives you that familiar homemade flavor with a convenient mixing method that keeps most of the flour contained.
Instead of combining everything in a large bowl, you mix the ingredients inside a sturdy resealable bag. A little squeezing brings the dough together, followed by a few minutes of hand kneading. After two rises and a short bake, you have a tender loaf ready for sandwiches, toast, or serving alongside dinner.
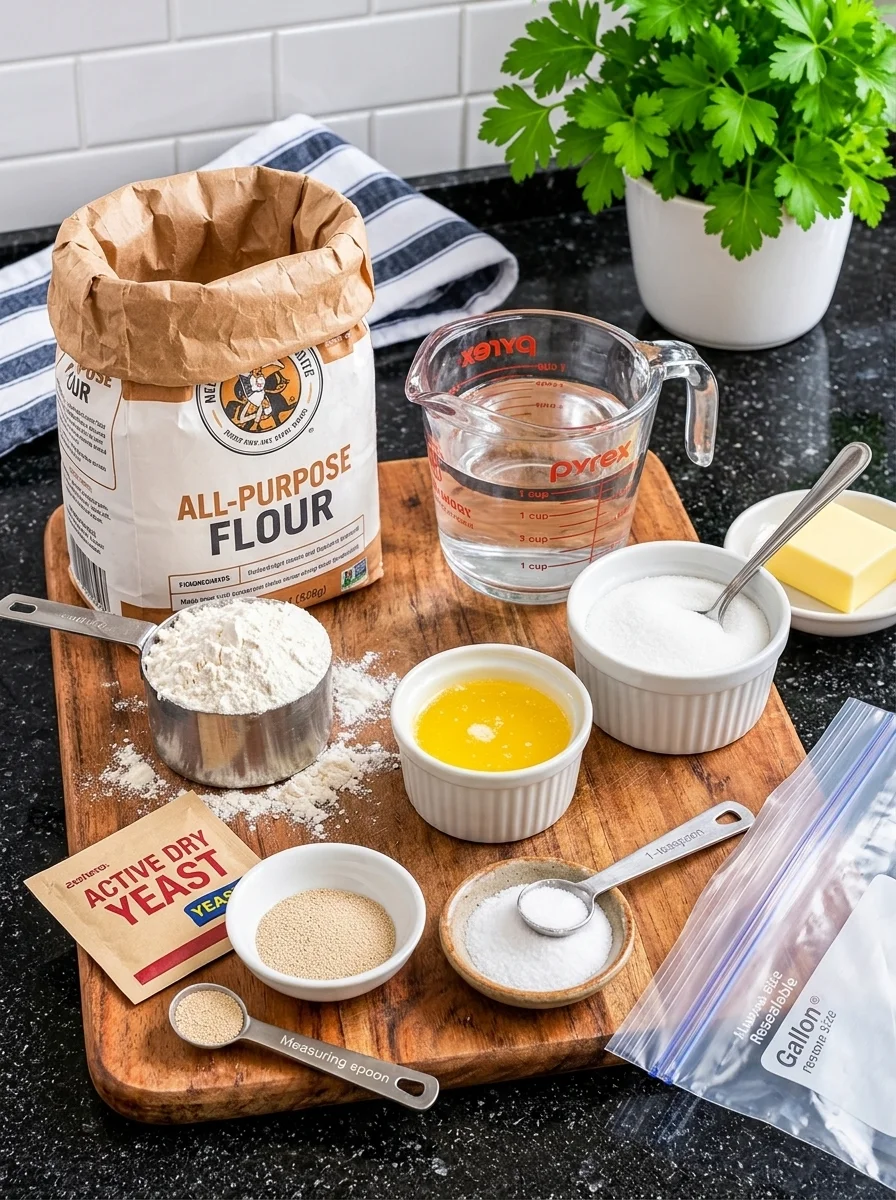
The recipe uses everyday ingredients: flour, yeast, warm water, sugar, butter, and salt. You do not need a stand mixer or bread machine, and the steps are approachable for beginners. Children can also help measure ingredients and gently massage the bag while an adult handles the oven.
This guide covers the complete method, ingredient choices, troubleshooting tips, variations, storage instructions, and a recipe card with everything in one place.
What Is White Bread in a Bag?
White bread in a bag is a yeast bread made by mixing the dough inside a large resealable food-storage bag. Once the ingredients form a rough dough, you remove it from the bag, knead it on the counter, and follow the usual rising, shaping, and baking steps.
The bag is simply a mixing tool. It helps contain loose flour during the early stages and makes the process more hands-on for young helpers.
This version produces one small sandwich loaf with a tender crumb and lightly buttery flavor. A modest amount of sugar balances the flavor without making the bread noticeably sweet.
The bread bakes in a regular loaf pan. The plastic mixing bag never goes into the oven.
Why You’ll Love This Recipe
It uses simple ingredients. You probably already have most of the ingredients in your pantry or refrigerator.
No mixer is required. The bag handles the initial mixing, and a few minutes of hand kneading develop the dough.
The loaf is versatile. Use it for sandwiches, breakfast toast, grilled cheese, or homemade breadcrumbs.
It is a manageable first bread recipe. The small batch makes one loaf, so there is no need to handle a large quantity of dough.
It is a fun family activity. Measuring, squeezing, and watching the dough rise provide several opportunities for children to participate.
The bread freezes well. Freeze individual slices and toast them as needed.
You can adjust the flavor. Try honey, herbs, or a cinnamon swirl once you are comfortable with the basic dough.
Ingredient Breakdown
All-Purpose Flour — 3 Cups, Divided
All-purpose flour creates a soft loaf with enough structure for slicing. For the most consistent result, use 360 grams.
If measuring by volume, spoon the flour into the measuring cup and level it with a straight edge. Scooping directly from the flour container can pack too much into the cup, resulting in stiff dough and dense bread.
Keep a little extra flour available for kneading, but use it sparingly.
Warm Water — 1 Cup
Use water warmed to approximately 105–110°F (40–43°C).
Warm water helps the active dry yeast begin working. Water that is too hot can damage the yeast, while cooler water slows the rise.
An instant-read thermometer makes this step easier, especially if you are new to bread baking.
Active Dry Yeast — 2¼ Teaspoons
This is the amount in one standard ¼-ounce packet.
Check the expiration date and store opened yeast according to the package directions. The initial resting step allows you to look for bubbling before adding the remaining ingredients.
Granulated Sugar — 2 Tablespoons
Sugar adds mild sweetness and helps the crust brown. The amount is small enough that the loaf still works well with savory sandwich fillings.
Unsalted Butter — 2 Tablespoons
Melt the butter and allow it to cool until lukewarm before adding it.
Butter contributes flavor and helps create a tender crumb. Neutral oil can be substituted in the same amount.
Fine Salt — 1 Teaspoon
Salt strengthens the flavor and helps regulate yeast activity. Use fine table salt or fine sea salt for consistent measuring.
Coarse kosher salts vary in density, so they should not automatically be substituted teaspoon for teaspoon.
Optional Butter for the Crust
Brush the baked loaf with 1–2 teaspoons melted butter for a softer crust and a light sheen.
Equipment You’ll Need
- One sturdy gallon-size resealable food-storage bag
- Measuring cups and spoons or a kitchen scale
- An instant-read thermometer, if available
- A clean work surface
- A mixing bowl for rising
- An 8½ × 4½-inch loaf pan
- A clean towel or lightly greased plastic wrap
- A wire cooling rack
A 9 × 5-inch pan can also be used, but this quantity of dough will make a shorter loaf in the larger pan.
How to Make Easy Homemade White Bread in a Bag
Step 1: Prepare the Ingredients
Measure the flour and divide it into three portions of 1 cup each, or 120 grams each.
Melt the butter and set it aside to cool. Warm the water and check its temperature.
Lightly grease the loaf pan and a medium mixing bowl.
Step 2: Combine the First Ingredients
Add the following to the resealable bag:
- 1 cup flour
- 2 tablespoons granulated sugar
- 2¼ teaspoons active dry yeast
- 1 cup warm water
Press out most of the excess air and seal the bag. Gently massage it until the mixture resembles a thick batter.
Set the bag on the counter for 10 minutes. Small bubbles should begin appearing, and the mixture may look slightly expanded.
Step 3: Add Butter, Salt, and More Flour
Open the bag and add:
- 1 cup flour
- 2 tablespoons melted, cooled butter
- 1 teaspoon fine salt
Seal the bag securely and massage until combined. Work the mixture gently away from the corners to incorporate pockets of dry flour.
Step 4: Add the Final Flour Portion
Add the remaining 1 cup flour.
Seal and continue squeezing until a rough dough forms. It may look uneven or slightly shaggy at this stage.
Do not worry about making it perfectly smooth inside the bag. Kneading will finish developing its texture.
Step 5: Knead the Dough
Transfer the dough to a lightly floured work surface.
Knead for 6–8 minutes, folding the dough toward you, pressing it away with the heel of your hand, and turning it between folds.
The dough should become smooth, elastic, and slightly tacky. If it sticks heavily, add flour 1 tablespoon at a time.
If the dough feels dry and difficult to fold, knead in water 1 teaspoon at a time rather than forcing in more flour.
Step 6: Let It Rise
Place the dough in the greased bowl, turning it once to lightly coat the surface.
Cover and let rise in a comfortably warm, draft-free location for approximately 45–75 minutes, until doubled in size.
A cool room can extend the rising time. Use the dough’s appearance as your main guide.
Step 7: Shape the Loaf
Gently press the risen dough to release large air pockets.
Pat it into a rectangle approximately 7 × 10 inches. Starting at a short end, roll it into a snug log.
Pinch the seam closed, tuck the ends underneath, and place the loaf seam-side down in the prepared pan.
Step 8: Allow the Second Rise
Cover loosely and let rise for 30–45 minutes.
In an 8½ × 4½-inch pan, the center of the loaf should crown approximately 1 inch above the rim. The dough should look puffy and feel delicate.
Preheat the oven to 375°F (190°C) during the final 15–20 minutes of rising.
Step 9: Bake Until Golden
Remove the covering and bake for 25–30 minutes.
The top should be golden brown, and the center should reach approximately 190–195°F (88–91°C).
If the top develops color too quickly, loosely cover it with foil for the remainder of baking.
Step 10: Cool Before Slicing
Let the loaf stand in the pan for 5 minutes, then turn it onto a wire rack.
Brush with melted butter if desired. Allow it to cool for at least 1 hour, preferably until the center is barely warm, before slicing.
Cooling helps the crumb set so the slices stay soft without becoming compressed or gummy.
Tips for Soft, Fluffy White Bread
Weigh the flour when possible. Accurate flour measurement makes the dough easier to handle and reduces the chance of a heavy loaf.
Use a sturdy bag. Thin bags can split during mixing. Massage gently and avoid pulling on the sealed edges.
Keep the dough soft. A slightly tacky dough is preferable to one that feels dry and stiff.
Knead until elastic. Properly kneaded dough stretches more smoothly and holds the gas produced during rising.
Avoid excessive heat during proofing. Gentle warmth encourages rising. A hot oven or direct heat can damage the yeast or dry the dough’s surface.
Keep the dough covered. An uncovered surface can form a dry skin that restricts expansion.
Shape with even tension. A snug roll helps the loaf rise evenly and reduces large gaps inside.
Watch the second rise carefully. Overproofed dough can collapse or produce a weak top.
Check the center before removing it. A browned crust alone does not guarantee the middle is fully baked.
Variations to Try
Honey White Bread
Replace the granulated sugar with 2 tablespoons honey. The dough may feel slightly stickier, so add extra flour only if it remains difficult to knead.
Dairy-Free White Bread
Replace the butter with 2 tablespoons neutral oil and grease the pan with oil.
Garlic Herb Bread
Add 1 teaspoon dried Italian seasoning and ½ teaspoon garlic powder with the salt.
This version works well for savory toast and sandwiches.
Cinnamon Swirl Bread
After the first rise, roll the dough into a rectangle. Brush with 1 tablespoon softened butter, then sprinkle with ¼ cup sugar mixed with 1½ teaspoons cinnamon.
Leave a narrow border, roll tightly, and pinch the seam closed. Place seam-side down in the pan, proof, and bake. The loaf may need a few additional minutes.
Part Whole-Wheat Bread
Replace 1 cup all-purpose flour with the same weight of whole-wheat flour.
Let the mixed dough rest for 10 minutes before kneading. Add a little water if it feels stiff, and expect a slightly heartier loaf.
Small Dinner Rolls
After the first rise, divide the dough into 8 equal pieces and shape into balls.
Place in a greased baking dish, cover, and let rise until puffy. Bake at 375°F (190°C) for approximately 18–22 minutes, until golden and cooked through.
What to Serve with Homemade White Bread
This loaf fits easily into everyday meals.
- Butter and jam: A simple way to enjoy the bread’s soft texture.
- Scrambled eggs: Serve toasted slices alongside eggs for breakfast.
- Grilled cheese: Use evenly cut slices for crisp edges and a tender center.
- Chicken or tuna salad: The mild bread complements flavorful fillings.
- Tomato soup: Thick slices are ideal for dipping.
- French toast: Slightly stale slices absorb the egg mixture well.
- Garlic bread: Spread with garlic butter and toast until golden.
If the loaf starts drying out, turn the remaining slices into croutons, breadcrumbs, or bread pudding.
Storage and Freezing
Room Temperature
Allow the bread to cool completely before placing it in a bread bag or airtight container.
Store at room temperature for 2–3 days. In a warm, humid kitchen, freeze any portion you do not expect to use promptly.
Freezer
Slice the cooled loaf and place it in a freezer-safe bag. Separate slices with parchment if needed.
Freeze for up to 3 months for best quality. Remove individual slices as needed.
Thawing
Thaw a whole loaf in its wrapping at room temperature. Frozen slices can usually go straight into the toaster.
Refreshing the Loaf
Wrap a thawed loaf loosely in foil and warm at 300°F (150°C) for approximately 10–15 minutes.
Avoid routine refrigerator storage, which tends to make bread stale faster.
Frequently Asked Questions
Can I use instant yeast?
Yes. Substitute the same amount of instant yeast. Follow the same mixing sequence, but watch the dough because the rising time may be shorter.
Why did my yeast mixture not bubble?
The yeast may be old, the water may have been too hot, or the mixture may be too cool. If there is no activity after 10–15 minutes, start again with fresh yeast and correctly warmed water.
Can I use bread flour?
Yes. Use the same weight of bread flour. It will generally produce a slightly chewier loaf and may need a small splash of additional water.
Why is my bread dense?
Common causes include excess flour, insufficient kneading, inactive yeast, or cutting the rising time short. Start by checking flour measurement and whether the dough actually doubled during the first rise.
Why is the middle gummy?
The loaf may have been underbaked or sliced too soon. Check the internal temperature and give the bread enough cooling time before cutting.
Can I mix everything in a bowl instead?
Yes. Use the same ingredient sequence, stirring with a sturdy spoon before kneading by hand.
Can I bake the bread inside the plastic bag?
No. The resealable bag is only for mixing. Remove the dough before kneading and bake it in an oven-safe loaf pan.
Can I double the recipe?
Yes. Use two separate bags for easier mixing and bake the dough in two loaf pans.
Can I refrigerate the dough overnight?
Yes. After kneading, place it in a lightly greased bowl with room to expand, cover, and refrigerate overnight. Shape it the next day and allow extra time for the final rise.
Why did the crust wrinkle after cooling?
A little wrinkling can happen as the loaf cools, especially after brushing with butter. Remove it from the pan promptly and cool on a rack to prevent trapped moisture.
How can I cut neat sandwich slices?
Let the loaf cool completely and use a serrated bread knife with a gentle sawing motion. Pressing down firmly can squash the soft crumb.

Easy Homemade White Bread in a Bag
Description
A tender white sandwich loaf made with simple ingredients and a convenient resealable-bag mixing method.
- Prep time: 20 minutes
- Initial yeast rest: 10 minutes
- Rise time: 75–120 minutes
- Bake time: 25–30 minutes
- Total time: Approximately 2 hours 10 minutes to 3 hours, plus cooling
- Yield: 1 small loaf, about 12 slices
- Course: Bread
- Difficulty: Easy
Ingredients
Ingredients
- 3 cups all-purpose flour, divided, preferably weighed at 360 grams
- 2 tablespoons granulated sugar
- 2¼ teaspoons active dry yeast, one standard ¼-ounce packet
- 1 cup warm water, 105–110°F (40–43°C)
- 2 tablespoons unsalted butter, melted and cooled
- 1 teaspoon fine salt
- Additional flour for kneading, as needed
- Butter or oil for greasing
- Optional: 1–2 teaspoons melted butter for brushing
Instructions
Instructions
- Grease an 8½ × 4½-inch loaf pan and a medium bowl.
- Add 1 cup flour, sugar, yeast, and warm water to a sturdy gallon-size resealable bag.
- Seal and massage until combined. Rest for 10 minutes and look for small bubbles.
- Add 1 cup flour, melted butter, and salt. Seal and mix.
- Add the remaining cup of flour and massage until a rough dough forms.
- Transfer to a lightly floured surface and knead for 6–8 minutes, until smooth and elastic.
- Place in the greased bowl, cover, and rise for 45–75 minutes, until doubled.
- Gently deflate, pat into a rectangle, and roll into a loaf. Pinch the seam closed.
- Place seam-side down in the loaf pan. Cover and rise for 30–45 minutes, until puffy and crowned above the rim.
- Bake at 375°F (190°C) for 25–30 minutes, until golden and the center reaches 190–195°F (88–91°C).
- Cool in the pan for 5 minutes, then transfer to a rack.
- Brush with butter if desired and cool before slicing.