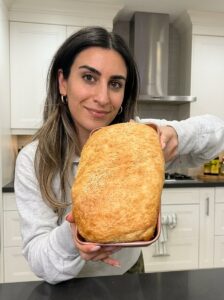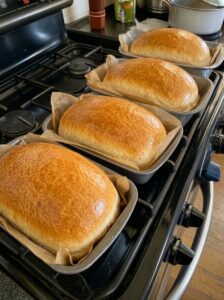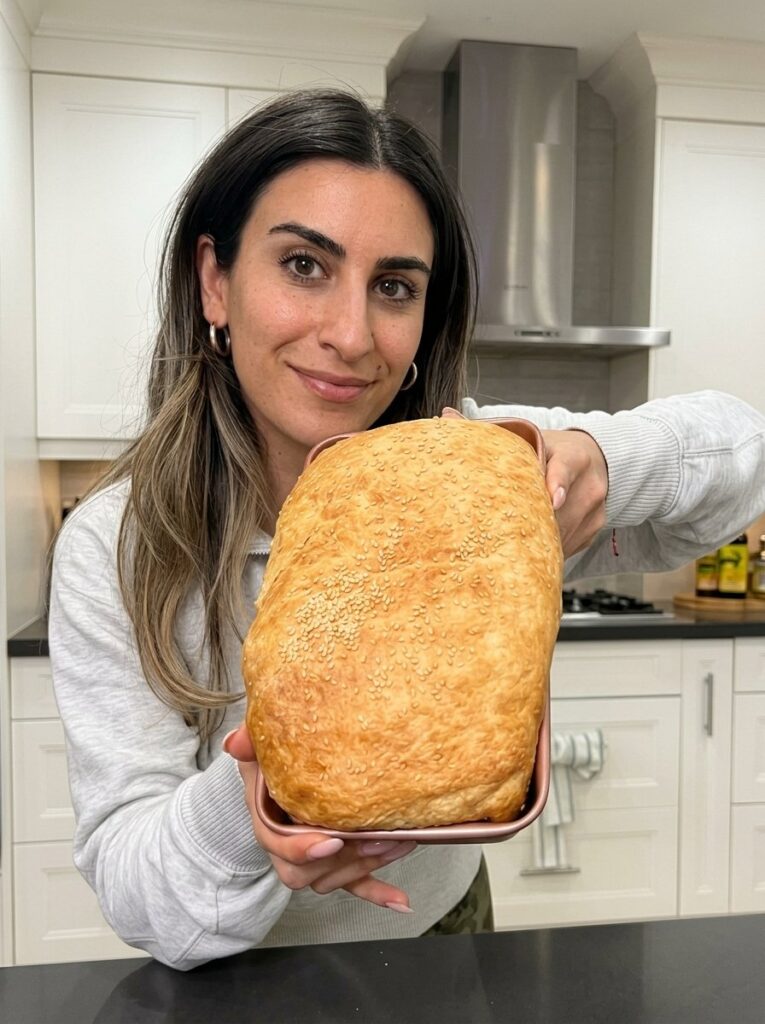
5-Ingredient No-Knead Sandwich Bread (Soft, Fluffy & Easy)
SEO Title: 5-Ingredient No-Knead Sandwich Bread: Soft, Fluffy & Foolproof Recipe
Meta Description: Make soft, golden homemade sandwich bread with just 5 pantry ingredients and zero kneading. This easy no-knead loaf is perfect for sandwiches, toast, and grilled cheese.
Focus Keyword: no-knead sandwich bread
Secondary Keywords: easy homemade bread, 5-ingredient bread recipe, soft sandwich bread, beginner bread recipe, no-knead bread in a loaf pan, homemade sandwich loaf
Why You’ll Love This No-Knead Sandwich Bread
There’s something deeply satisfying about slicing into a loaf of homemade bread. The golden crust, the soft and airy crumb, and the warm smell drifting through your kitchen are hard to beat. For many home cooks, though, bread baking feels intimidating. It seems to demand special equipment, complicated techniques, and a lot of time spent kneading.
This 5-ingredient no-knead sandwich bread changes that. It’s soft, fluffy, beautifully golden, and incredibly easy to make. With basic pantry ingredients and almost no hands-on work, the dough rises slowly and bakes into a tender, bakery-style loaf. If you’ve never baked bread before, this is the perfect place to start.
Here’s why this recipe is worth making:
- No kneading required. A wooden spoon or spatula does all the work. There’s no stand mixer, no bread machine, and no sore arms.
- Only 5 simple ingredients. Flour, warm water, instant yeast, salt, and honey (or sugar). You probably have everything in your kitchen already.
- Beginner-friendly. The dough is forgiving, and the visual cues in the recipe tell you exactly when it’s ready.
- Soft, sliceable texture. This is a true sandwich loaf, sturdy enough for fillings and tender enough for toast.
- Versatile. It works for sandwiches, grilled cheese, French toast, and dipping into soup.
- Budget-friendly. Homemade bread costs far less than many store-bought and bakery loaves.
Ingredients for 5-Ingredient No-Knead Sandwich Bread
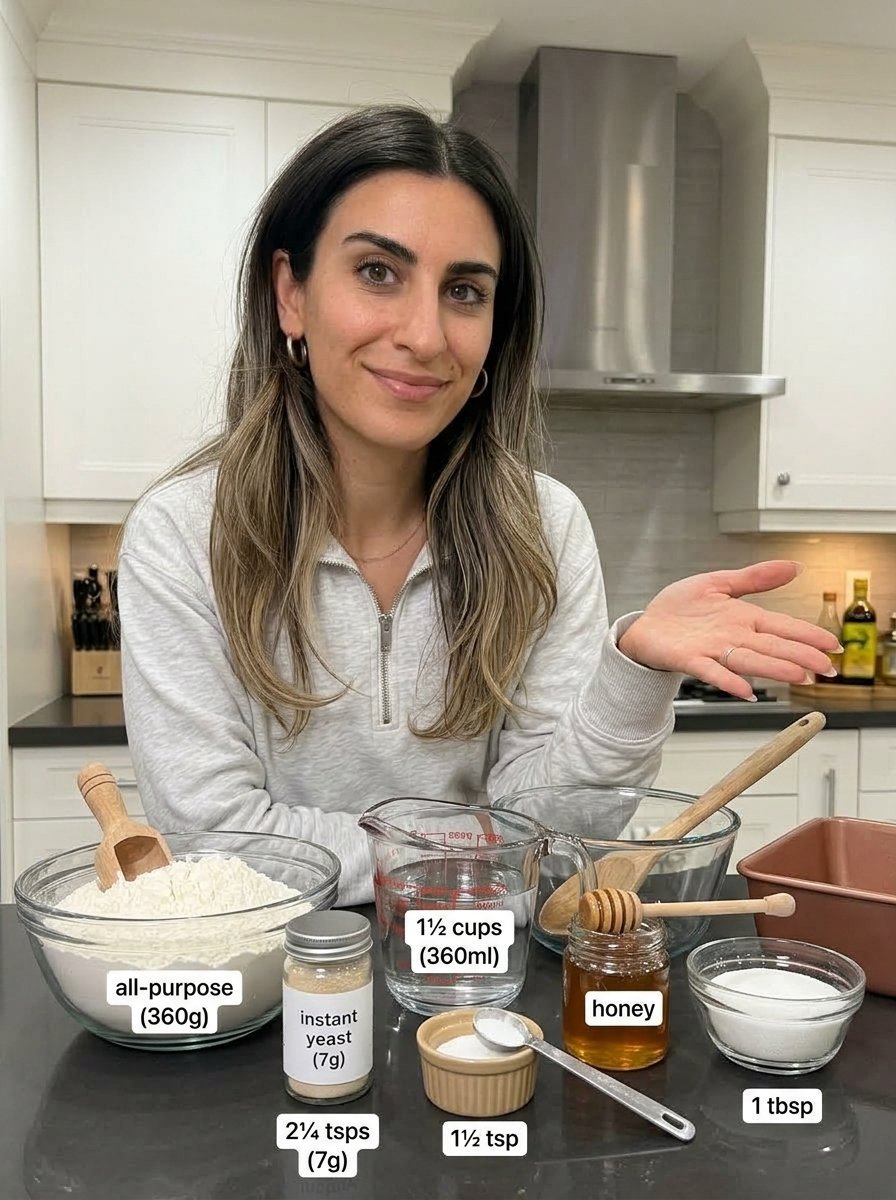
You only need five ingredients to make this loaf:
- 3 cups (360 g) all-purpose flour
- 1½ cups (360 ml) warm water
- 2¼ tsp (7 g) instant yeast
- 1½ tsp salt
- 1 tbsp honey or granulated sugar
That’s it. No eggs, no milk, no butter in the dough, and no special flours.
A Closer Look at Each Ingredient
All-purpose flour is the foundation of this loaf. It has enough protein to build structure while keeping the crumb soft and tender. Because this is a no-knead recipe, the long, slow rise does the work that kneading would normally do, helping the gluten develop on its own.
Warm water wakes up the yeast and hydrates the flour. The dough here is wetter than a traditional kneaded dough, which is what creates a soft, open crumb. Make sure the water is comfortably warm, never hot. Water that’s too hot can kill the yeast and prevent your bread from rising.
Instant yeast is what makes the bread rise. In this recipe, it’s stirred into the warm water with the honey or sugar and left for a couple of minutes to get going before the flour goes in.
Salt adds flavor and helps regulate the yeast. Bread without enough salt tastes flat, so don’t skip it.
Honey or sugar gives the yeast a little food and adds a subtle sweetness. Honey creates a slightly sweeter, more tender sandwich loaf, while sugar keeps things more neutral.
Tips for the Best No-Knead Sandwich Bread
A few small details make the difference between a good loaf and a great one:
- Use comfortably warm water, never hot. Aim for water that feels pleasantly warm to the touch, like a comfortable bath. This allows the yeast to activate properly without being damaged.
- Keep the dough soft and slightly sticky. It’s tempting to add extra flour when the dough looks wet. Resist the urge. The stickiness is what keeps the finished loaf light and tender.
- Use honey for a sweeter loaf. If you like a slightly sweeter sandwich bread, honey is a lovely choice over sugar.
- Watch the dough, not the clock. Rising times depend on your kitchen’s temperature. Let the dough become puffy and nearly double in size instead of relying only on the timer.
- Brush with butter for a softer crust. Brushing the warm loaf lightly with butter right after baking gives you a soft, golden, bakery-style crust.
How to Make No-Knead Sandwich Bread (Step by Step)
Step 1: Mix the Dough
Add the warm water, yeast, and honey or sugar to a large mixing bowl. Stir gently and let the mixture sit for about 2 to 3 minutes so the yeast can begin to wake up.
Next, add the flour and salt. Using a wooden spoon or spatula, stir everything together until a soft, sticky dough forms and there are no large pockets of dry flour left.
There is no kneading required. Simply mix until the ingredients are evenly combined. The dough will look shaggy and rough at this stage, and that’s exactly how it should look.
Step 2: Let the Dough Rise
Cover the bowl loosely with plastic wrap, a clean kitchen towel, or a lid. Place it in a warm, draft-free spot and let the dough rise for about 1½ to 2 hours, or until it becomes noticeably puffy and nearly doubles in size.
The exact rising time depends on the temperature of your kitchen. In a warm room, the dough may be ready closer to the 1½-hour mark. In a cooler kitchen, it may need the full two hours or a little longer. Look for a puffy, bubbly surface and a dough that has clearly grown in volume.
Step 3: Shape the Loaf
Lightly grease a 9×5-inch loaf pan. Once the dough has risen, gently stir it down with a spatula to release some of the larger air bubbles. Transfer the dough into the prepared pan.
With lightly oiled or wet fingertips, smooth the surface as evenly as you can. Wet or oiled hands keep the sticky dough from clinging to your fingers.
Step 4: Let It Rise Again
Cover the loaf pan loosely and let the dough rest for another 30 to 45 minutes. The dough should become puffy and rise noticeably toward the top of the pan.
While the dough finishes its second rise, preheat your oven to 375°F (190°C).
Step 5: Bake the Bread
Place the loaf in the preheated oven and bake for about 35 to 40 minutes, or until the top is beautifully golden brown and the loaf sounds hollow when gently tapped.
If the top starts browning too quickly, loosely cover it with foil during the final part of baking. This protects the crust while the inside finishes cooking.
Step 6: Cool Before Slicing
Remove the bread from the oven and let it cool in the pan for about 10 minutes. Then carefully transfer it to a wire rack and let it cool completely before slicing.
For an extra-soft crust, lightly brush the warm loaf with butter right after removing it from the oven.
It’s hard to wait, but cooling matters. Slicing too early can leave the crumb gummy because the bread is still finishing its cooking from residual steam. Once cooled, slice and enjoy the soft, fluffy texture and lightly golden crust.
How Does No-Knead Bread Work?
If you’re new to bread baking, you might wonder how a loaf can turn out soft and structured without any kneading. The answer is time and hydration.
Traditional bread recipes call for kneading because it helps gluten, the protein network that gives bread its structure, develop. Kneading stretches and aligns those gluten strands, trapping the gas produced by the yeast.
In a no-knead recipe, a wetter dough and a longer rise do the same job. When flour is fully hydrated and left to rest, gluten forms on its own over time. The yeast slowly produces gas, and the dough gradually becomes stretchy and airy. By the time you stir it down and move it to the pan, much of the work has already been done for you.
This is why the method suits busy people and beginners so well. You mix for a couple of minutes, walk away, and let time do the rest.
Common Mistakes to Avoid
Even with an easy recipe, a few common issues can affect your results. Here’s how to avoid them.
Using water that’s too hot. Hot water can kill yeast and prevent the dough from rising. Always use comfortably warm water.
Adding too much flour. A sticky dough is normal and desirable here. Extra flour leads to a denser, drier loaf.
Not letting the dough rise enough. If you bake the dough before it’s puffy and nearly doubled, the loaf may turn out dense. Be patient and trust the visual cues.
Letting it over-rise. If the dough rises far beyond double or begins to collapse, the loaf can bake up flat or with a coarse texture. Keep an eye on it, especially in a very warm kitchen.
Slicing the bread while it’s hot. Letting the loaf cool completely gives the crumb time to set, so you get clean, even slices.
Skipping the salt. Salt is essential for flavor and helps control the fermentation. Without it, the bread tastes bland.
Troubleshooting Your Loaf
My bread didn’t rise. The most likely culprits are expired yeast or water that was too hot or too cold. Check the date on your yeast, and use comfortably warm water. Also make sure the dough is rising somewhere warm and draft-free.
My bread is dense. This usually means the dough needed more rising time, or too much flour was added. Let the dough become puffy and nearly doubled, and keep the dough soft and slightly sticky.
The top is browning too fast. Cover the loaf loosely with foil during the final part of baking. Ovens vary, so this simple step helps protect the crust.
The crust is too hard. Brush the loaf with butter as soon as it comes out of the oven. This softens the crust and adds a little richness.
The bread stuck to the pan. Make sure to grease the loaf pan lightly but thoroughly before adding the dough. Letting the bread rest in the pan for 10 minutes before transferring it to a rack also helps it release cleanly.
Serving Ideas for Homemade Sandwich Bread
This loaf is built for everyday eating. Here are some favorite ways to enjoy it:
- Everyday sandwiches. Use it for turkey and cheese, egg salad, chicken salad, or whatever fillings you love.
- Morning toast. Toast slices and serve them with butter, jam, honey, or eggs.
- Crispy grilled cheese. The sturdy but soft crumb browns beautifully in a skillet, giving you a golden, crunchy exterior and a gooey center.
- Alongside soups, stews, or salads. Serve it warm for dipping and mopping up every last drop.
- French toast. Slice it thick and make French toast with cinnamon and maple syrup for a cozy weekend breakfast.
- A simple warm slice with butter. Sometimes the best way to enjoy fresh bread is the simplest.
Easy Variations to Try
Once you’ve mastered the basic recipe, you can customize it. Keep in mind that these are optional ideas and the original recipe is delicious as written.
- Sweeter loaf: Use honey instead of sugar for a slightly sweeter, softer sandwich bread.
- Buttery finish: Brush the warm loaf with butter right after baking for a tender, glossy crust.
- Cinnamon toast bread: Serve slices toasted with butter and a sprinkle of cinnamon sugar.
How to Store Homemade Bread
Homemade bread has no preservatives, so proper storage helps keep it fresh.
At room temperature: Once the bread is completely cooled, store it in an airtight container or bread bag at room temperature for up to 3 days.
In the freezer: For longer storage, slice the loaf and place the slices in a freezer-safe bag. Freeze for up to 2 to 3 months.
Reheating: Frozen slices can be toasted directly from the freezer, making them perfect for a quick breakfast or an easy sandwich. There’s no need to thaw them first.
Slicing before freezing is a real time-saver. You can take out exactly as many slices as you need without defrosting a whole loaf.
Frequently Asked Questions
Do I really not need to knead this bread?
Correct. This is a true no-knead recipe. You simply stir the ingredients together until no dry flour remains, then let time and the rising process develop the dough.
Can I use honey instead of sugar?
Yes. Both work well. Honey gives the loaf a slightly sweeter flavor, while granulated sugar keeps it more neutral.
What kind of flour should I use?
This recipe is written for all-purpose flour, which gives a soft, tender crumb and reliable results.
Why is my dough so sticky?
A soft, slightly sticky dough is exactly what you want. The extra moisture helps create a light, tender loaf. Avoid adding more flour, and use lightly oiled or wet fingertips when smoothing the dough in the pan.
How do I know when the dough has risen enough?
Look for a dough that is noticeably puffy and nearly doubled in size. Rely on how the dough looks rather than only the clock, since rising time varies with the temperature of your kitchen.
How do I know when the bread is done baking?
The top should be beautifully golden brown, and the loaf should sound hollow when gently tapped. This usually takes about 35 to 40 minutes at 375°F (190°C).
What size loaf pan should I use?
A 9×5-inch loaf pan is ideal for this recipe.
Can I make this bread ahead of time?
Yes. Bake the loaf, cool it completely, and store it at room temperature for up to 3 days. For longer storage, slice and freeze it for up to 2 to 3 months.
Why should I let the bread cool before slicing?
Cooling allows the crumb to set. Cutting into the loaf too soon can make the texture seem gummy, and it’s harder to get clean slices.
Is this recipe good for beginners?
Absolutely. With only five ingredients, no kneading, and clear visual cues for each stage, it’s one of the easiest ways to start baking bread at home.
Final Thoughts
If you’ve ever been intimidated by homemade bread, this 5-ingredient no-knead sandwich bread will change your mind. With just flour, warm water, instant yeast, salt, and a touch of honey or sugar, you can bake a soft, fluffy, golden loaf that rivals anything from a bakery. There’s no kneading, no fancy equipment, and no complicated technique, only a little patience while the dough rises.
Make it for weekday sandwiches, weekend French toast, or a cozy dinner alongside a pot of soup. Slice it, toast it, or eat it warm with butter. However you serve it, this simple loaf is sure to become a staple in your kitchen.
Give it a try, and enjoy the satisfaction of pulling a perfect homemade loaf out of your own oven.
Print
5-Ingredient No-Knead Sandwich Bread
Ingredients
You only need five ingredients to make this loaf:
- 3 cups (360 g) all-purpose flour
- 1½ cups (360 ml) warm water
- 2¼ tsp (7 g) instant yeast
- 1½ tsp salt
- 1 tbsp honey or granulated sugar
That’s it. No eggs, no milk, no butter in the dough, and no special flours.
A Closer Look at Each Ingredient
All-purpose flour is the foundation of this loaf. It has enough protein to build structure while keeping the crumb soft and tender. Because this is a no-knead recipe, the long, slow rise does the work that kneading would normally do, helping the gluten develop on its own.
Warm water wakes up the yeast and hydrates the flour. The dough here is wetter than a traditional kneaded dough, which is what creates a soft, open crumb. Make sure the water is comfortably warm, never hot. Water that’s too hot can kill the yeast and prevent your bread from rising.
Instant yeast is what makes the bread rise. In this recipe, it’s stirred into the warm water with the honey or sugar and left for a couple of minutes to get going before the flour goes in.
Salt adds flavor and helps regulate the yeast. Bread without enough salt tastes flat, so don’t skip it.
Honey or sugar gives the yeast a little food and adds a subtle sweetness. Honey creates a slightly sweeter, more tender sandwich loaf, while sugar keeps things more neutral.
Instructions
Add the warm water, yeast, and honey or sugar to a large mixing bowl. Stir gently and let the mixture sit for about 2 to 3 minutes so the yeast can begin to wake up.
Next, add the flour and salt. Using a wooden spoon or spatula, stir everything together until a soft, sticky dough forms and there are no large pockets of dry flour left.
There is no kneading required. Simply mix until the ingredients are evenly combined. The dough will look shaggy and rough at this stage, and that’s exactly how it should look.
Cover the bowl loosely with plastic wrap, a clean kitchen towel, or a lid. Place it in a warm, draft-free spot and let the dough rise for about 1½ to 2 hours, or until it becomes noticeably puffy and nearly doubles in size.
The exact rising time depends on the temperature of your kitchen. In a warm room, the dough may be ready closer to the 1½-hour mark. In a cooler kitchen, it may need the full two hours or a little longer. Look for a puffy, bubbly surface and a dough that has clearly grown in volume.
Lightly grease a 9×5-inch loaf pan. Once the dough has risen, gently stir it down with a spatula to release some of the larger air bubbles. Transfer the dough into the prepared pan.
With lightly oiled or wet fingertips, smooth the surface as evenly as you can. Wet or oiled hands keep the sticky dough from clinging to your fingers.
Cover the loaf pan loosely and let the dough rest for another 30 to 45 minutes. The dough should become puffy and rise noticeably toward the top of the pan.
While the dough finishes its second rise, preheat your oven to 375°F (190°C).
Place the loaf in the preheated oven and bake for about 35 to 40 minutes, or until the top is beautifully golden brown and the loaf sounds hollow when gently tapped.
If the top starts browning too quickly, loosely cover it with foil during the final part of baking. This protects the crust while the inside finishes cooking.
Remove the bread from the oven and let it cool in the pan for about 10 minutes. Then carefully transfer it to a wire rack and let it cool completely before slicing.
For an extra-soft crust, lightly brush the warm loaf with butter right after removing it from the oven.
It’s hard to wait, but cooling matters. Slicing too early can leave the crumb gummy because the bread is still finishing its cooking from residual steam. Once cooled, slice and enjoy the soft, fluffy texture and lightly golden crust.